Theme Installation
Follow the steps below to upload the theme:
- Log in to your publication admin section at
yoursite.com/ghost/ - Go to Settings > Design (
yoursite.com/ghost/#/settings/design/) - Click Change theme and then click Upload theme and select the
flora.zipfile. - After the upload is complete click Activate
Routes Setup
routes.yaml file.Follow the steps below to upload the routes.yaml file (The file is located inside the zip)
- Log in to your publication admin section at
yoursite.com/ghost/ - Go to Settings > Labs.
- Click on
Upload routes YAMLbutton and select the file from the root directory of the theme.

The routing file defines the following custom routes and collections:
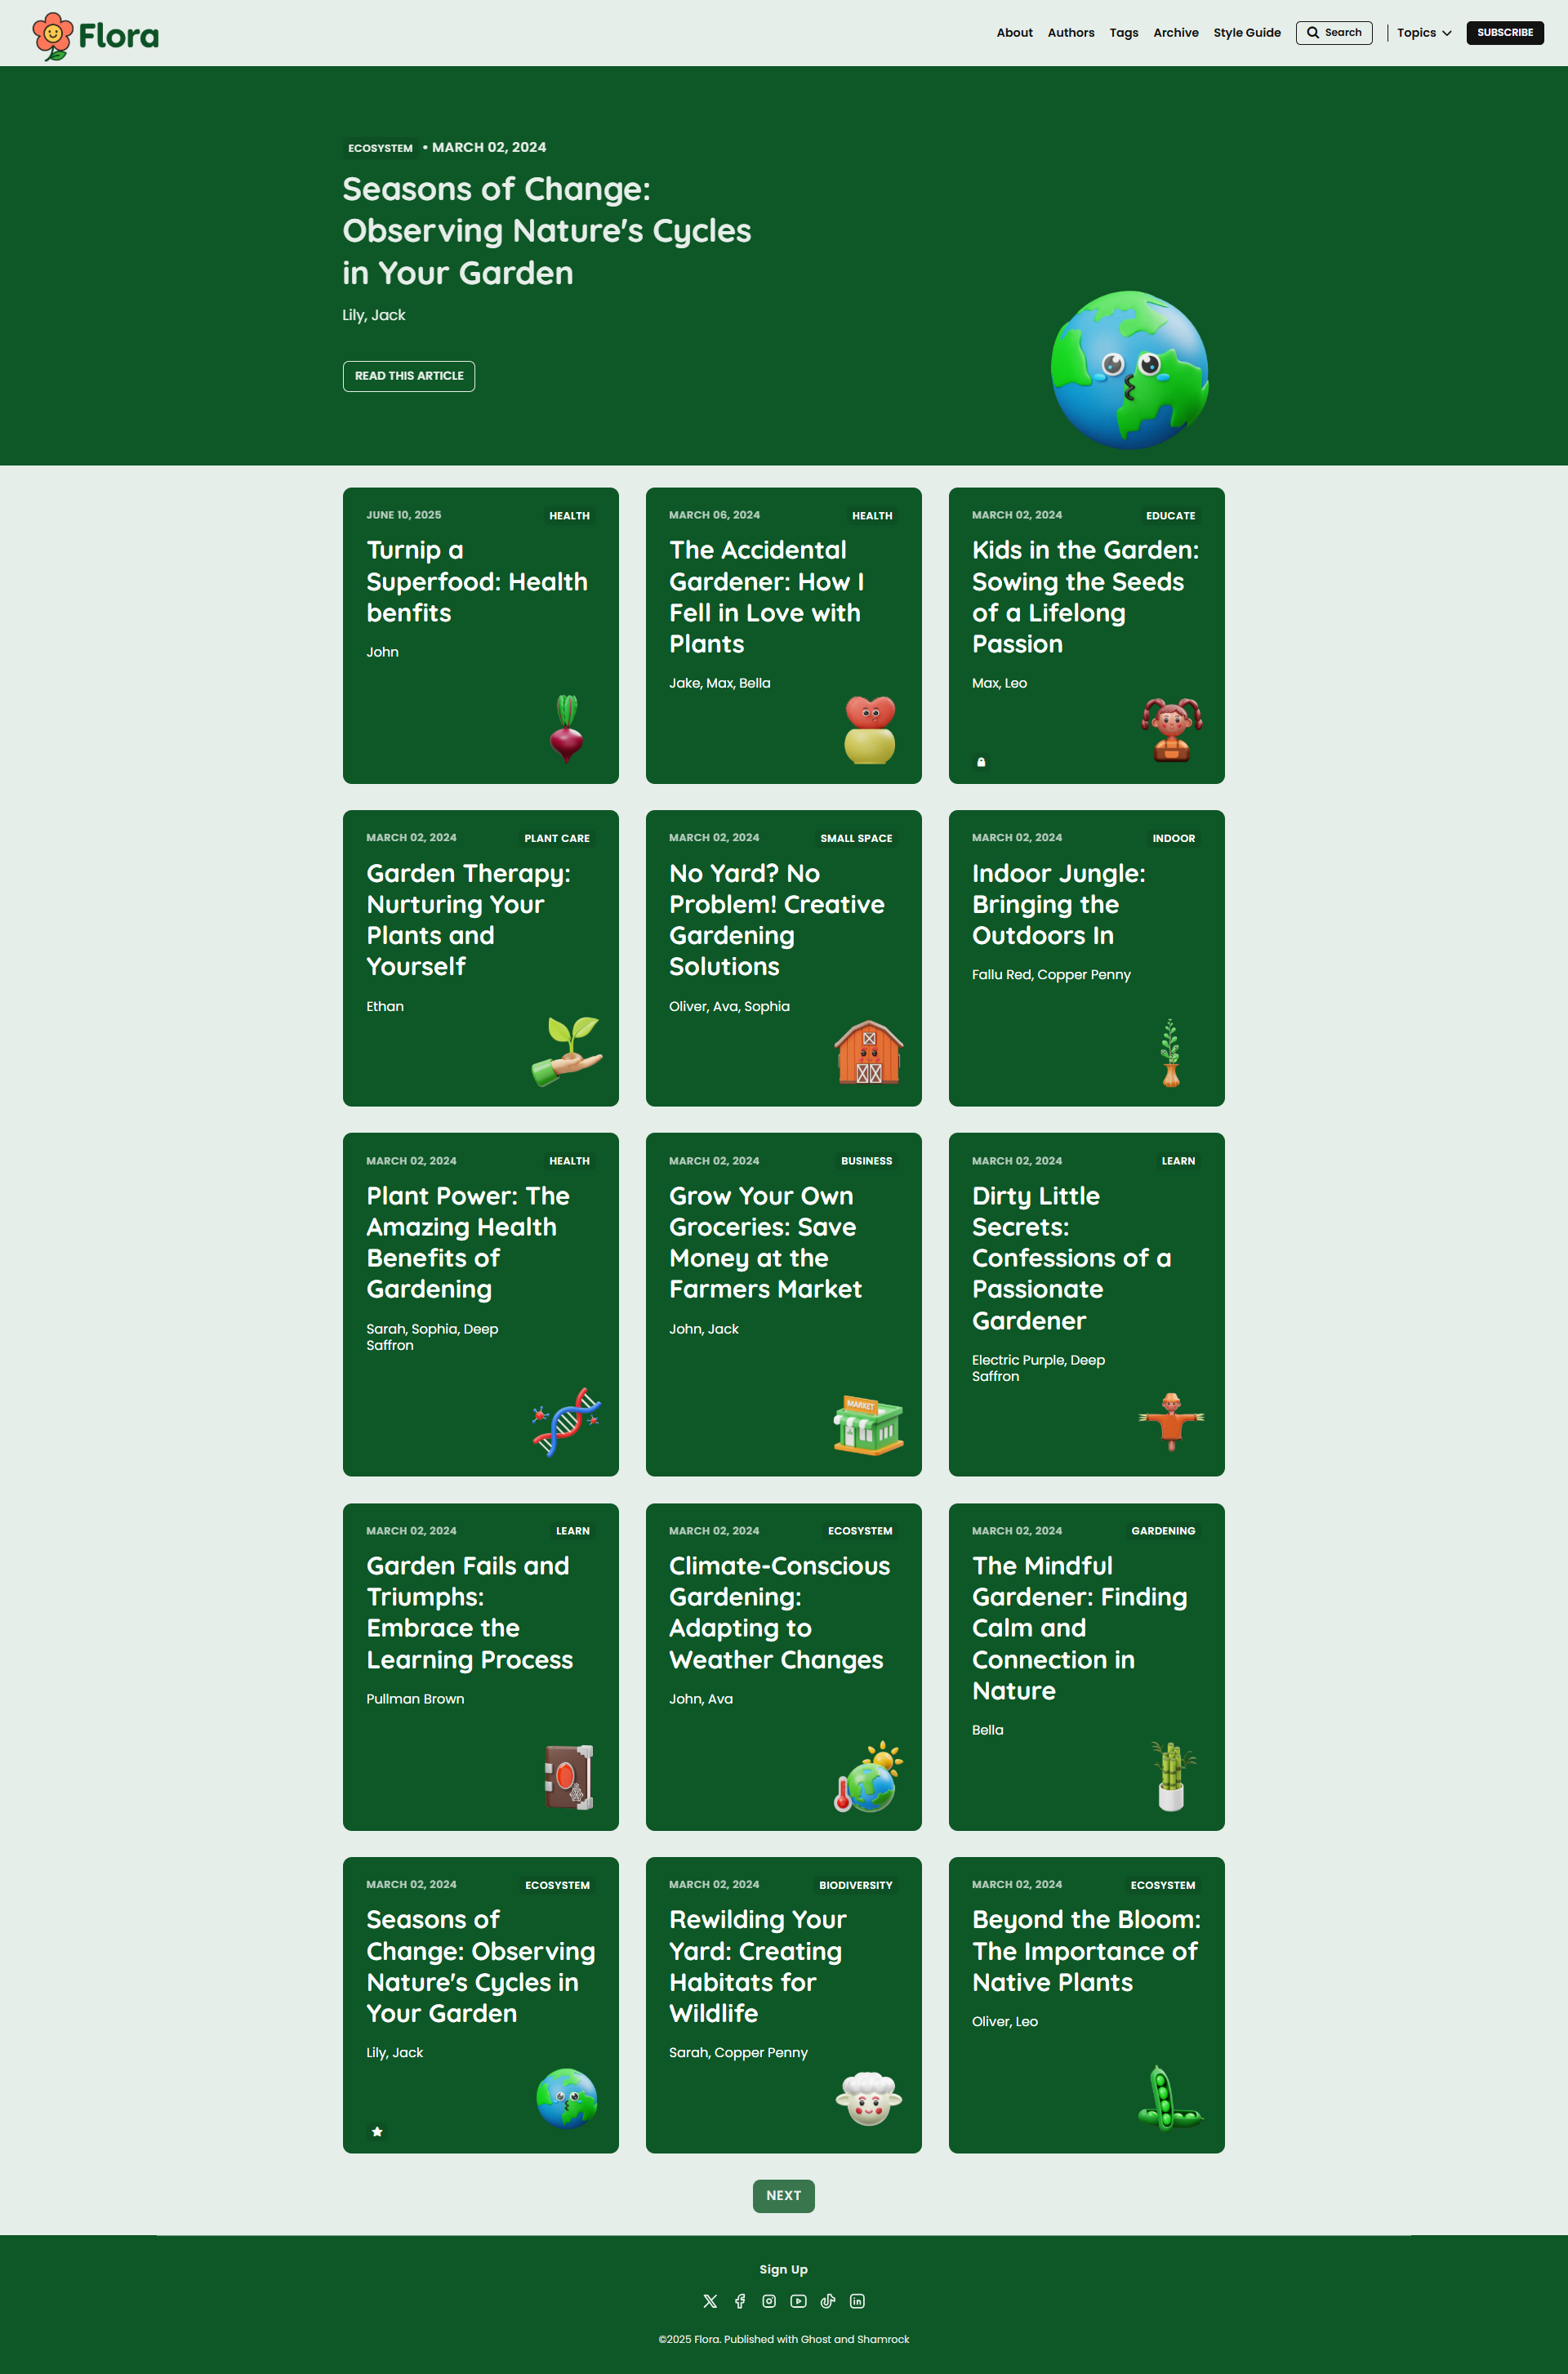
/- the homepage (index.hbs)/authors/- custom template to show all authors/tags/- custom template to show all tags/archive/- custom template to show all post on Archive page
Custom Settings
The theme comes with custom design settings that are accessible from the Ghost Admin panel. To view and edit these settings, go to Settings > Design ( yoursite.com/ghost/#/settings/design/)
Custom settings are defined in the package.json file. These settings are placed under two categories:
- Site-wide settings
- Post settings
Site-wide settings
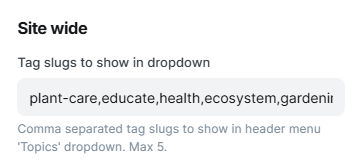
- Tag slugs to show in dropdown: Tag sllugs to show under the 'Topics' dropdown menu in header. To hide the 'Topics' dropdown leave this field blank. Add comma separated slugs of tags. Maximum of 5 tags.
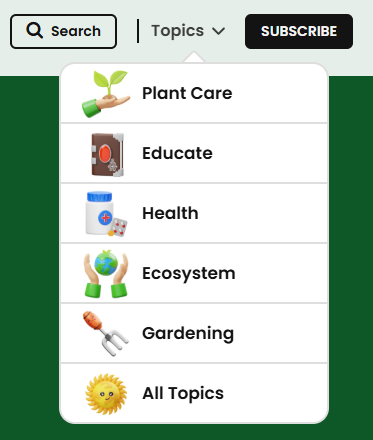
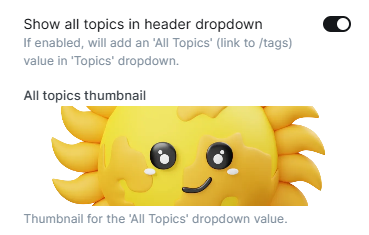
- Show all topics in header dropdown: If enabled an additional dropdown item,
All Topics, will be added in Topics menu which will link to/tagspage. You can also upload an icon to show for 'All Topics' dropdown menu item, as explained in the next point. - All topics thumbnail: An image which will be used as the icon for the
All Topicsitem in Topics dropdown.

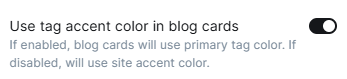
- Use tag accent color in blog cards: If enabled, color of the primary tag will be used as background for the post card. Else, the site accent color will be used.

With accent and without accent blog cards.
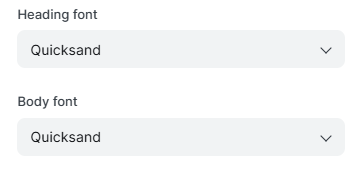
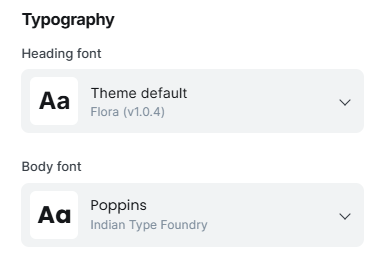
- Heading font & Body font: Select the font used for headings and body content across the website. Around 50 fonts are available to choose from. You can also use custom fonts provided by Ghost.
Post settings
- Enable image lightbox: If enabled, lightbox will be enabled for all images inside a post.
- Open external links in new tab: If enabled, external links will be opened in a new tab.
- Enable code syntax highlight: If enabled,
prism.jslibrary will be loaded. If you do not plan to add any code, then keep this turned off.
Custom Pages
As explained in the routes setup, the theme comes with a couple of custom pages, to activate these pages, there are some actions you have to take.
routes.yaml file is a key requirement for these custom pages.To create a Page:
- Log in to your publication admin section at
yoursite.com/ghost/ - Go to Pages (
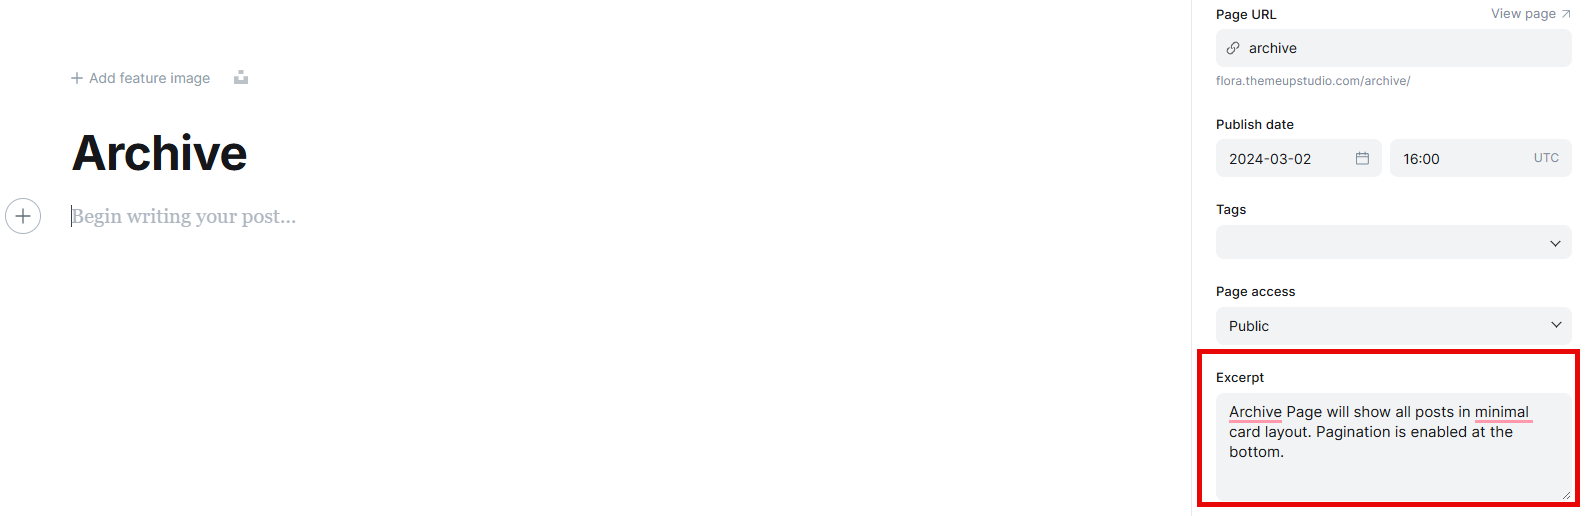
yoursite.com/ghost/#/pages/) - Click New page and set the Title and Page URL
- Finally, click Publish
Ensure the slug of the custom pages are:
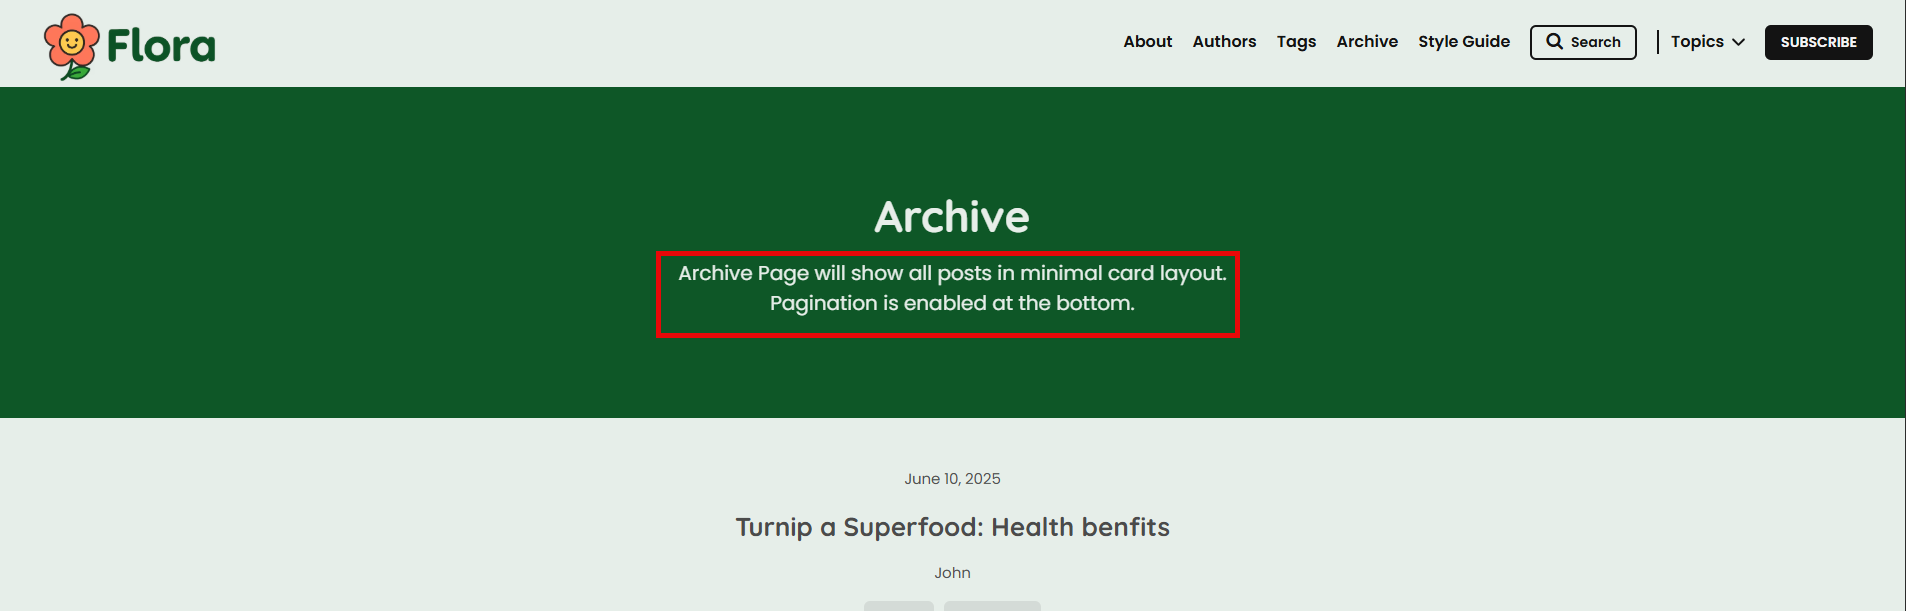
- Archive Page:
archive - Tags Page:
tags - Authors Page:
authors
Once you add these pages, please add suitable meta title and description for them.
If you add any excerpt, then it will be visible as a sub heading below the title of that page.
Contact Us
If you have any queries, feel free to contact us.