Theme Installation
Follow the steps below to upload the theme:
- Log in to your publication admin section at
yoursite.com/ghost/ - Go to Settings > Theme (
yoursite.com/ghost/#/settings/theme/) - Click Change theme and then click Upload theme and select the
noise.zipfile. - After the upload is complete click Activate
Routes Setup
routes.yaml file.Follow the steps below to upload the routes.yaml file (The file is located inside the zip)
- Log in to your publication admin section at
yoursite.com/ghost/ - Go to Settings > Labs.
- Click on
Upload routes YAMLbutton and select the file from the root directory of the theme.

The routing file defines the following custom routes and collections:
/- the homepage (index.hbs)/authors/- custom template to show all authors/tags/- custom template to show all tags/articles/- custom template to show all posts/featured/- custom template to show only featured posts/members/- custom template to show only members-only or paid posts
Custom Settings
The theme comes with custom design settings that are accessible from the Ghost Admin panel. To view and edit these settings, go to Settings > Design & Branding ( yoursite.com/ghost/#/settings/design/)
Custom settings are defined in the package.json file. These settings are placed under two categories:
- Site-wide settings
- Homepage settings
Site-wide settings
Default color scheme: Select the default colour scheme. Choose from
- Light: Light theme
- Dark: Dark theme
- System: System theme of the website visitor
Logo for dark mode: Logo for dark mode. Ensure the dimensions are same as that of your default logo.
Footer paragraph: Site-wide footer paragraph. If left blank the paragraph will be hidden.
Primary font: Choose from 50+ fonts. Used for headings and titles.
Secondary font: Choose from 50+ fonts. Used for the rest of the body and paragraphs.
Homepage settings
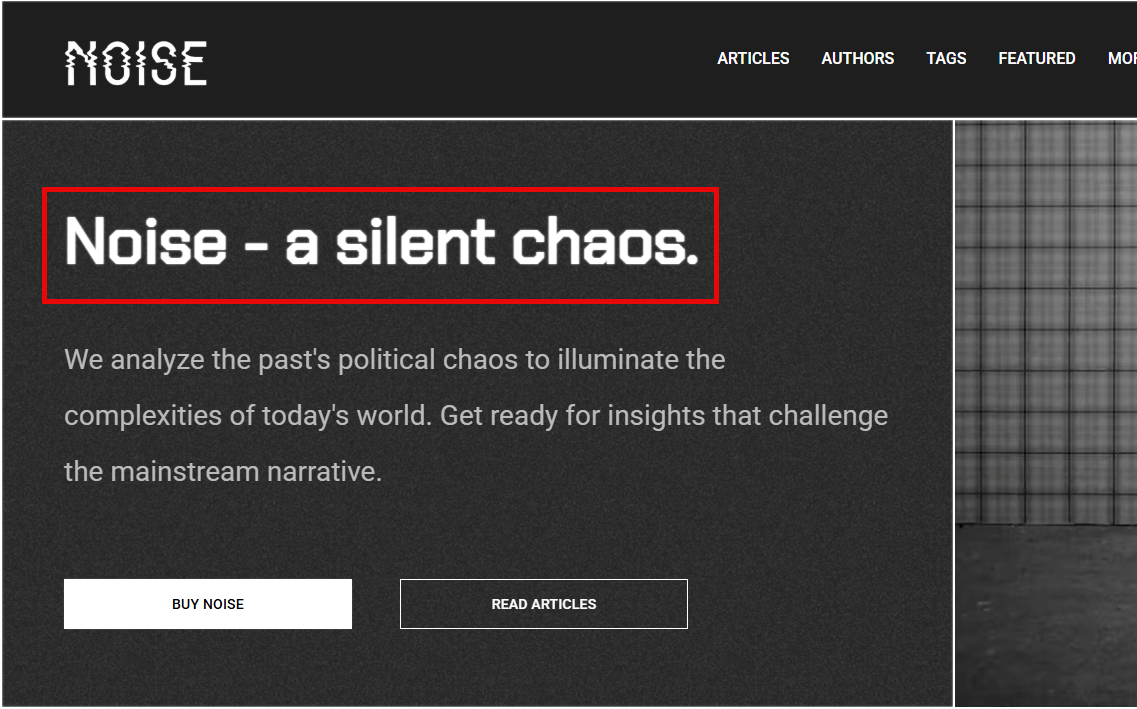
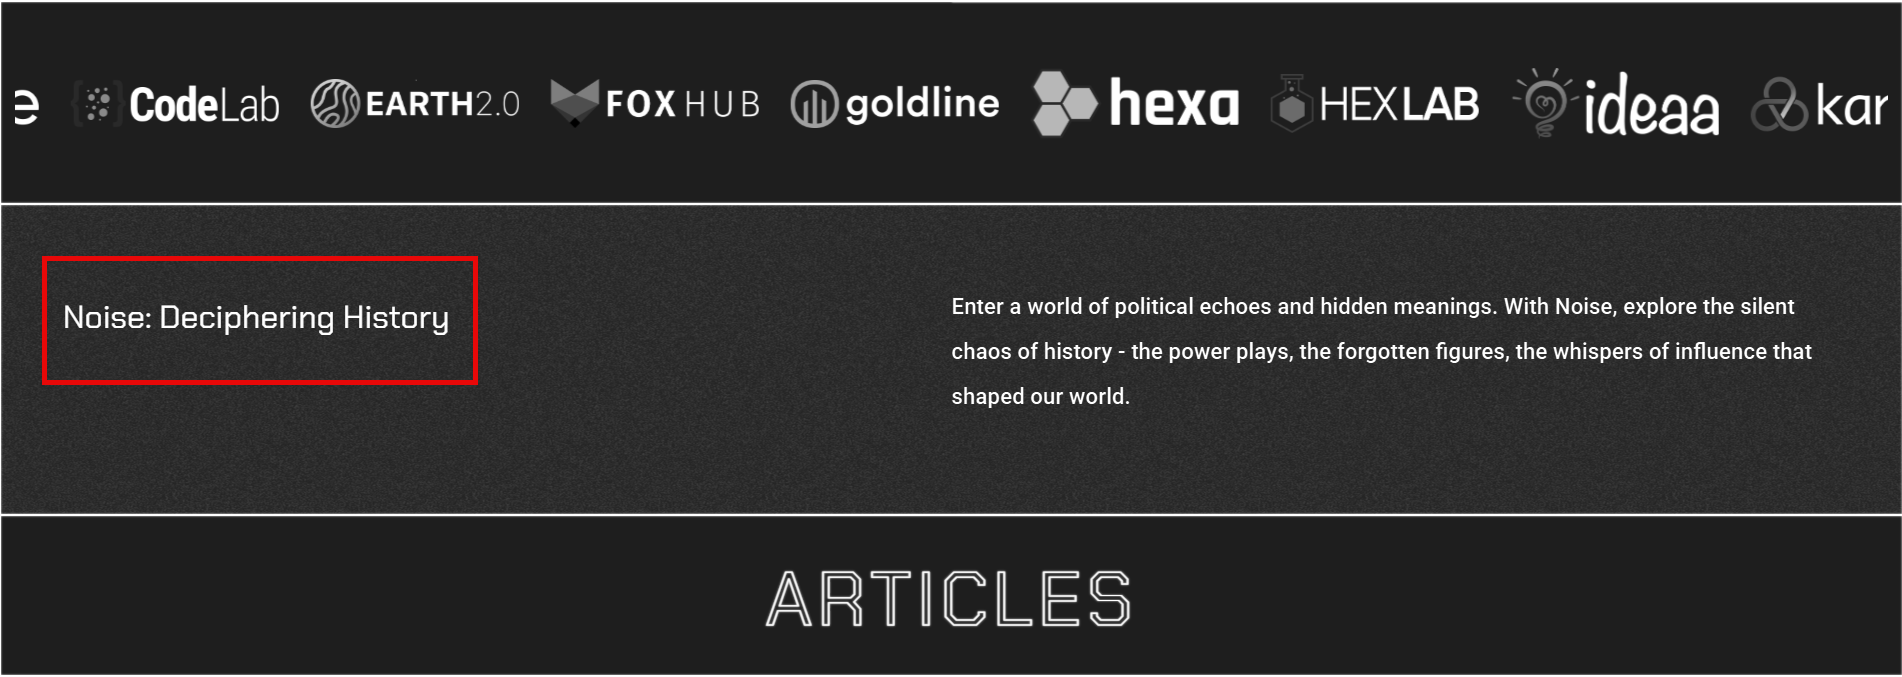
Title: Used as the H1 heading on homepage hero. If not set, then Site Title will be used.
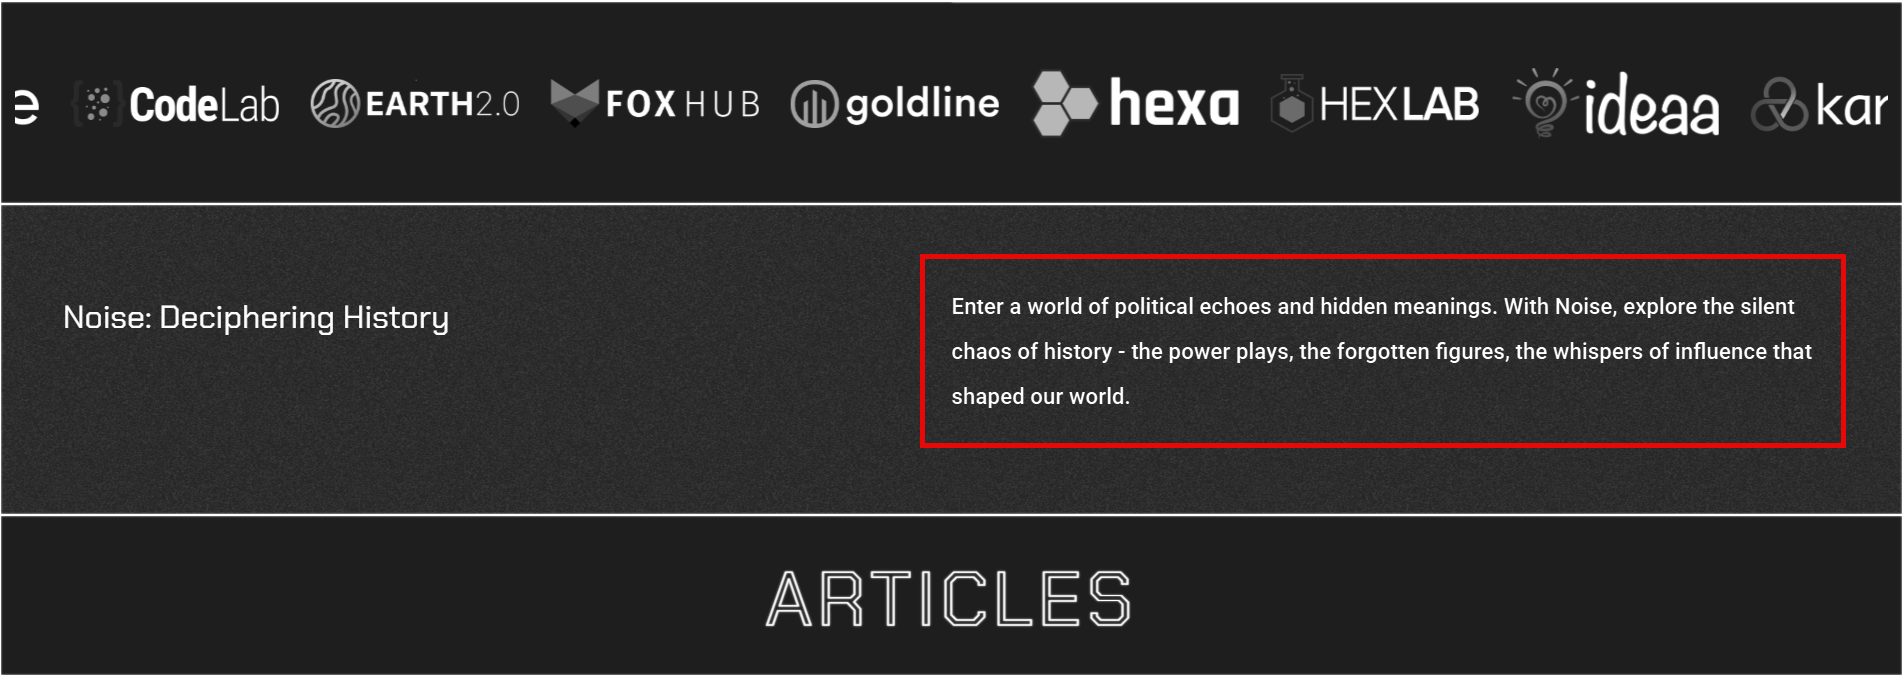
Sub title: Used as paragraph below H1 heading on homepage hero. If not set, then Site Description will be used.

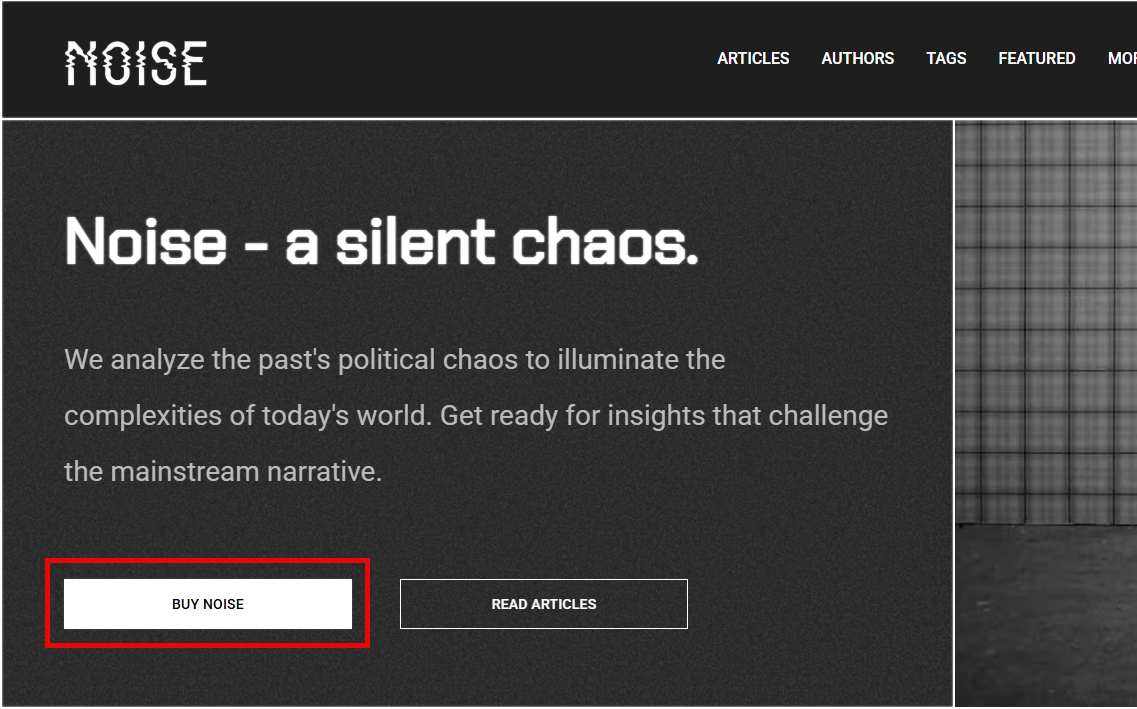
Hero button label: Used as paragraph below H1 heading on homepage hero. If not set, then Site Description will be used.
Hero button url: Link for hero section CTA button. To hide the button, remove the text from Hero Button Label.
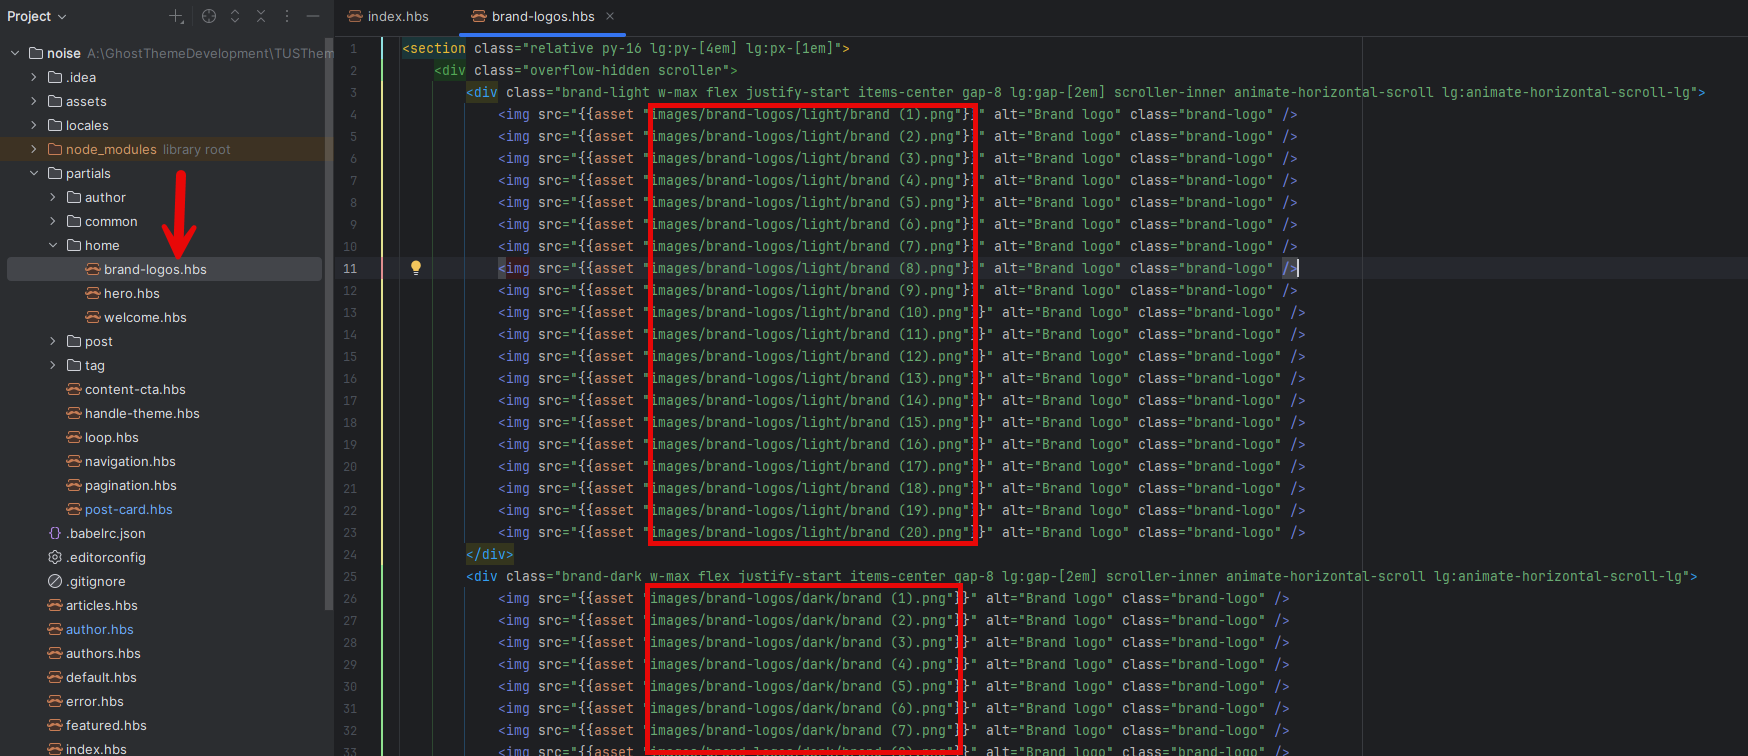
Show brand logos: Carousel of brand logos on homepage. Add brand logos in assets/images/brand-logos directory. Ensure to add variations for both light and dark mode.
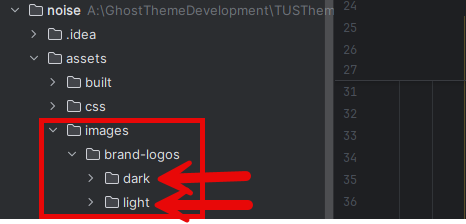
Once added, you need to modify the brand-logos.hbs inside home directory of the theme. Update the brand images, alt attributes.
Welcome title: Title for the welcome section. If this is left blank then the complete section will be hidden.
Welcome sub title: Paragraph for the welcome section. To hide the Welcome section, remove the Welcome Title text above.
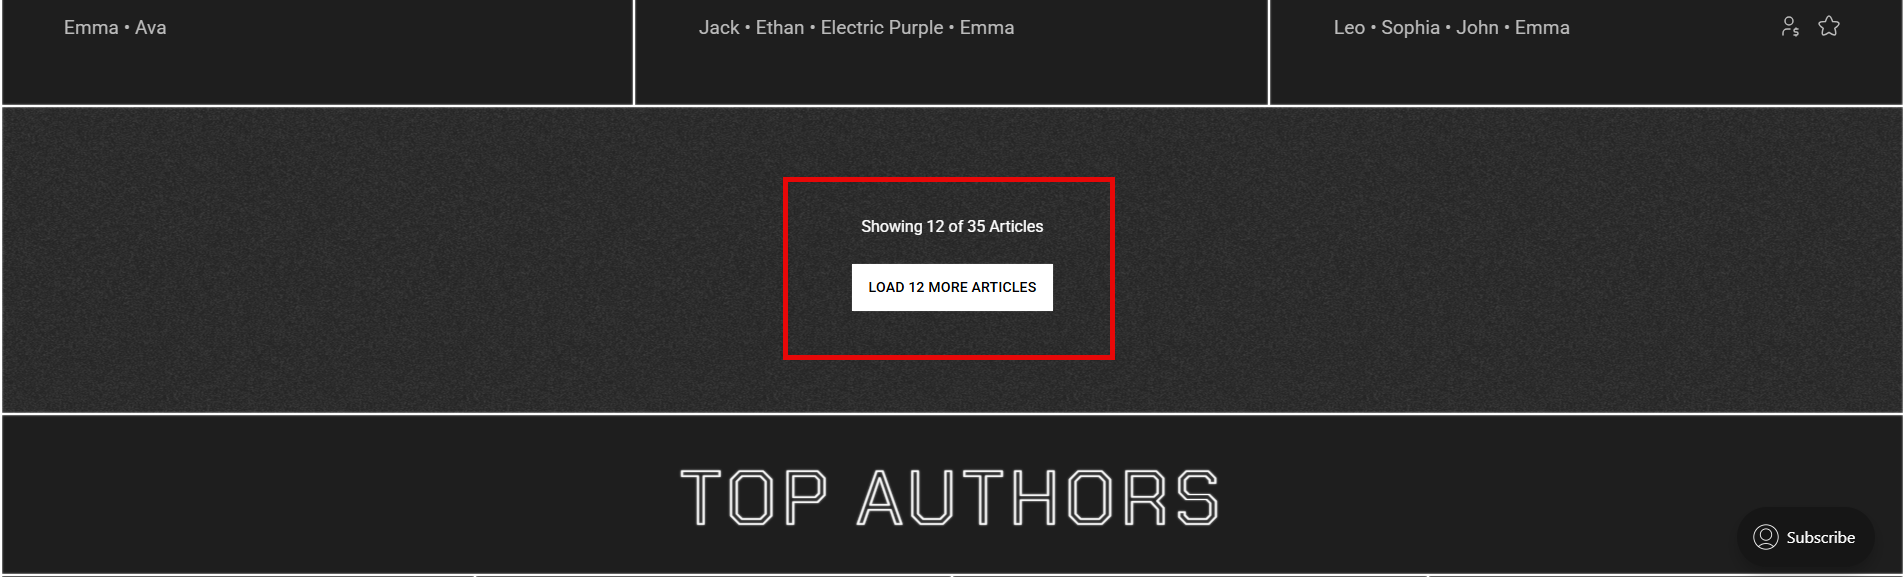
Show pagination: Show pagination on home page or show a button to open All Articles page.
Custom Pages
As explained in the routes setup, the theme comes with a couple of custom pages, to activate these pages, there are some actions you have to take.
routes.yaml file is a key requirement for these custom pages.To create a Page:
- Log in to your publication admin section at
yoursite.com/ghost/ - Go to Pages (
yoursite.com/ghost/#/pages/) - Click New page and set the Title and Page URL
- Finally, click Publish
Ensure the slug of the custom page are:
- Members Page:
members - Featured Page:
featured - Articles Page:
articles - Tags Page:
tags - Authors Page:
authors
Then add meta-title or meta-description for each page for SEO benefit.
Footer CTA
To modify the content of the footer CTA, please edit the en.json file in locales folder.

