Papyrus is a minimal Ghost theme that focuses on Typography. We kept the overall layout very minimal. Most customizing options are provided in Ghost admin settings, so you need not have to edit the code (except for adding new locales or adding social media links for your website, apart from Twitter and Facebook - the steps are mentioned below).
Please read the documentation to understand the features of this theme and how to use them.
Theme Installation
- Download the zip archive file from our shop where you purchased the theme.
- Extract
routes.yamlfrom the zip archive and save it on your computer. We will useroutes.yamlit later. - Go to your Ghost Admin dashboard and navigate to
Settings --> Theme --> Change theme
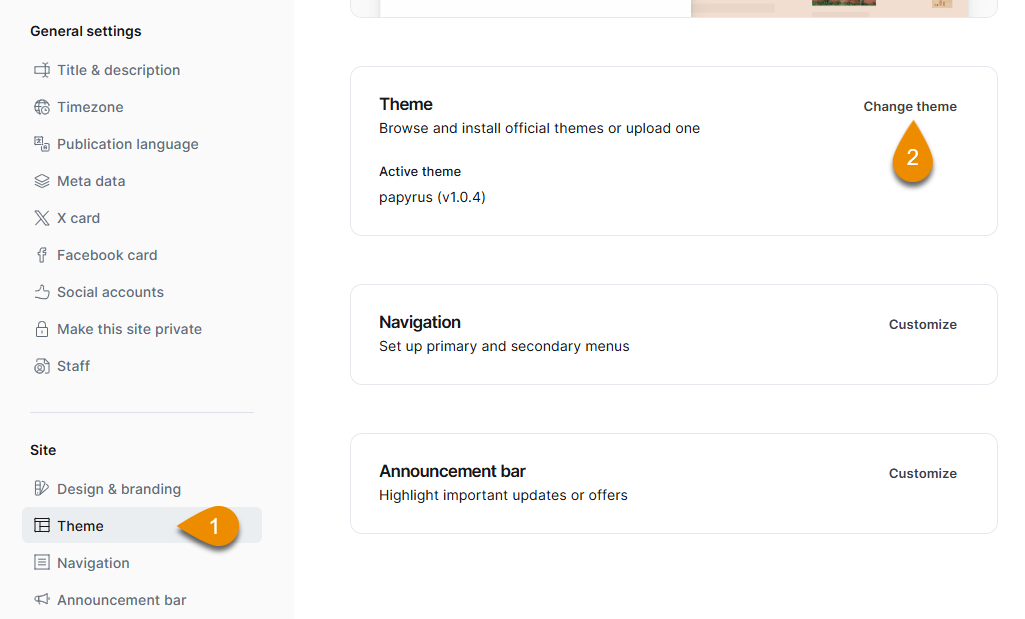
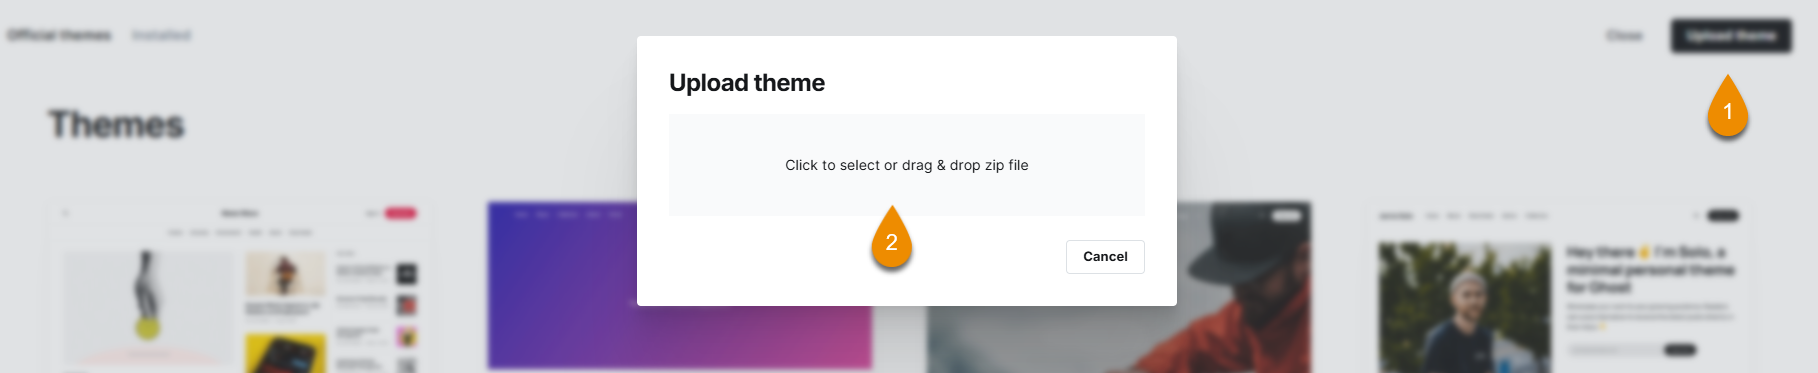
- Upload the downloaded archive file and activate the Papyrus theme.
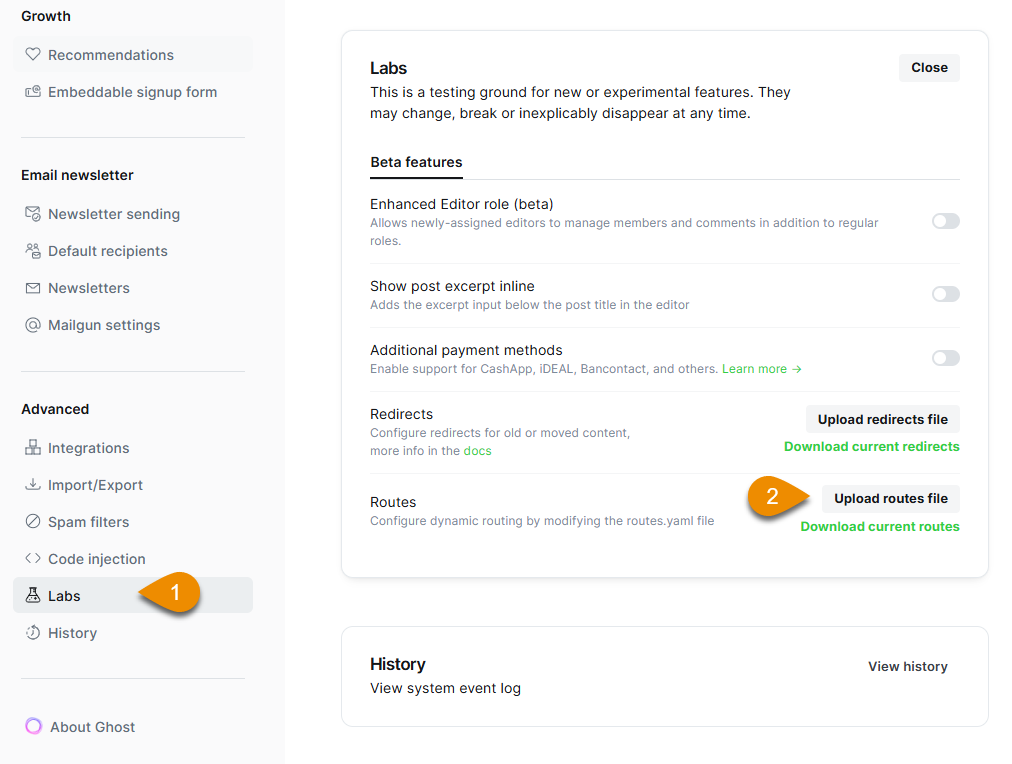
- Next, upload the theme-specific routes.yaml file by going to:
Settings --> Labs --> Upload routes file
Design Settings
Papyrus theme comes with a set of custom design settings to customize the look of your Ghost publication.
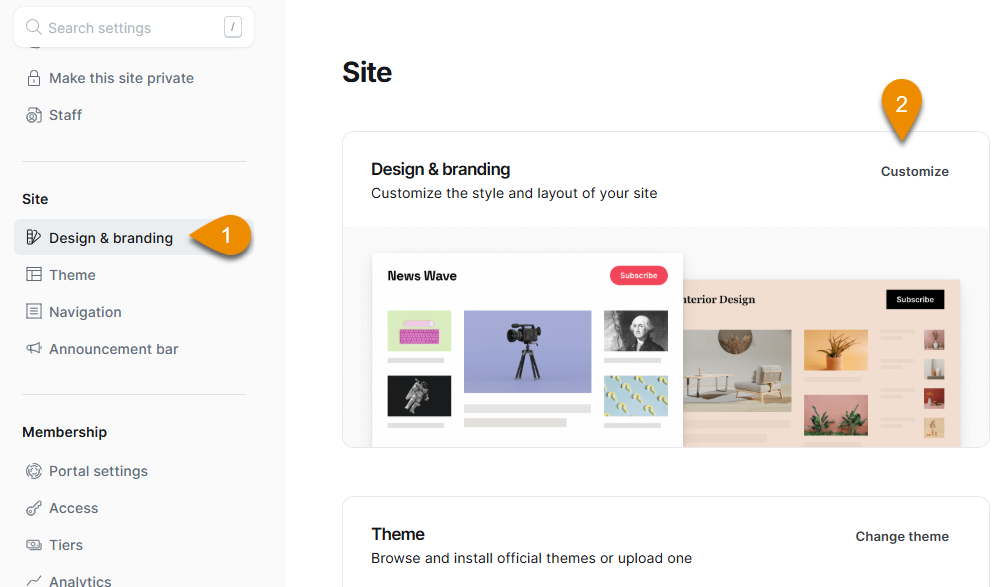
To open settings, go to:Settings --> Design & branding --> Customise
These settings are divided into four categories:
- Brand
- Site-wide
- Homepage
- Post
Out of these Brand settings are provided by Ghost out of the box and theme developers can use the values and assets under these settings as per their implementation.
Papyrus supports all the Brand settings. But we do not use Publication cover as this is mainly a text focussed theme.
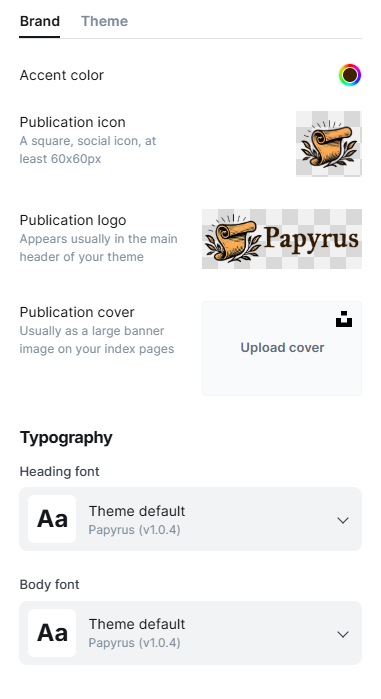
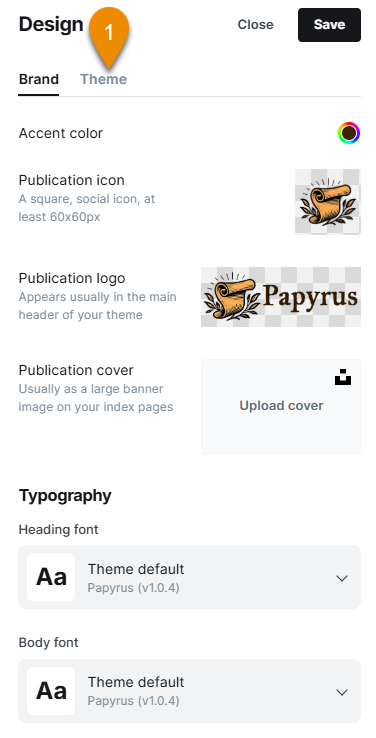
Brand Settings
Under the Brand design setting, you can change the brand-related configurations, which include logo, accent color, and icon. You can also add your description and upload a cover image for your publication.
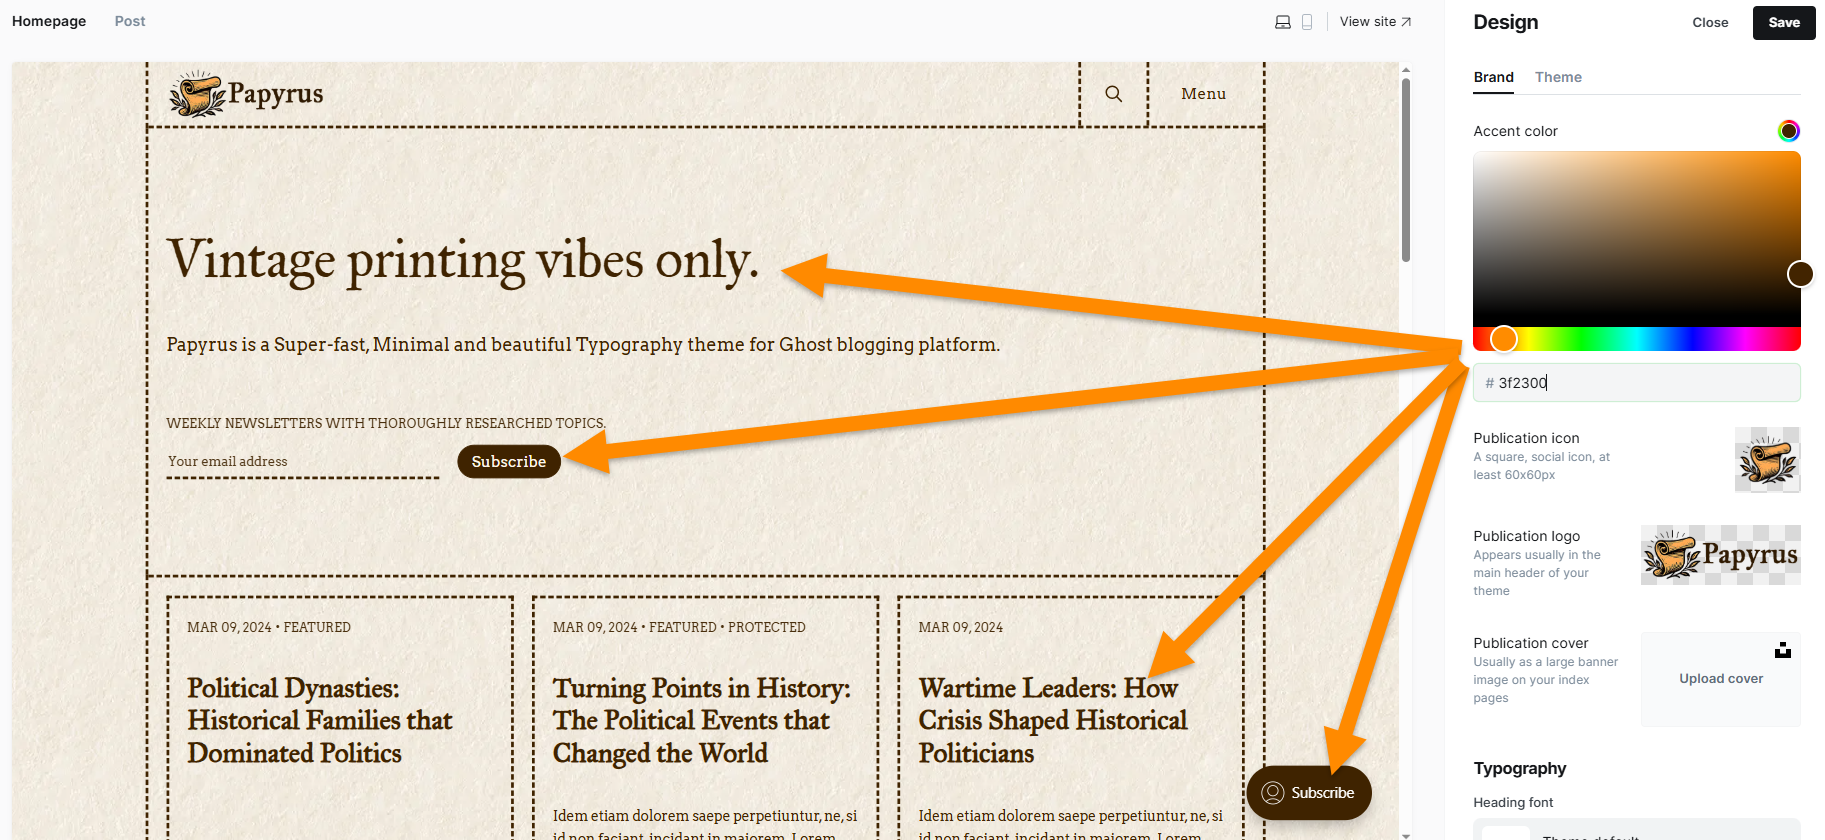
- Accent color: This will be the color used across the Ghost-provided portal. In the demo website at https://papyrus.themeupstudio.com/ we use
#3f2300as the accent color, which is visible on the Ghost portal elements and text.
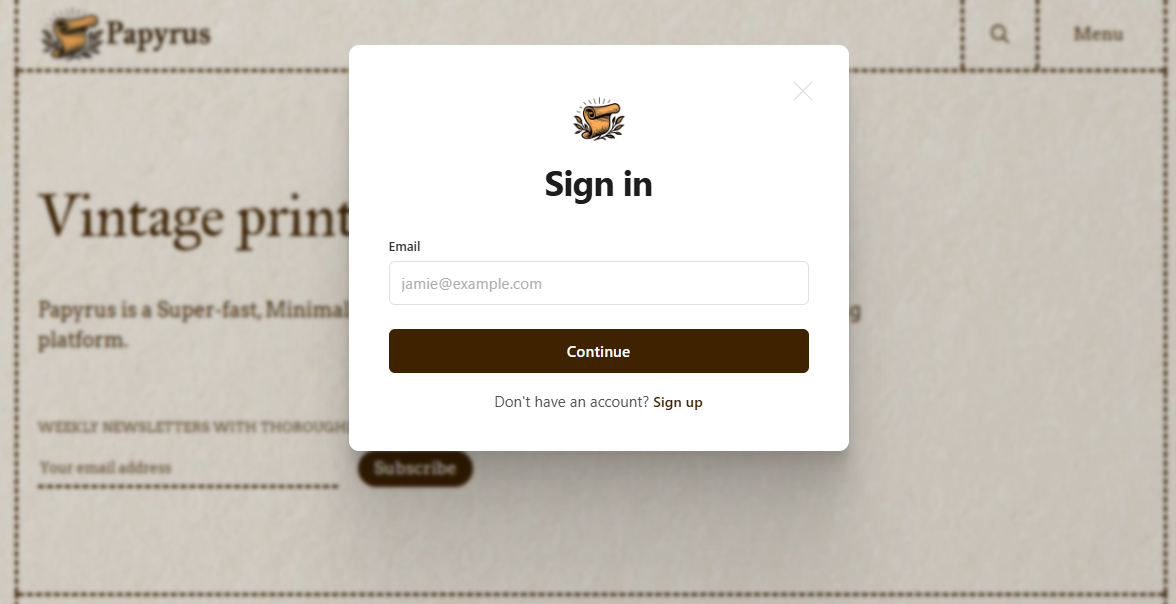
- Publication icon: This is the favicon icon and is used in browser tabs, ios icons and shortcuts. Also, it is visible on portal elements like Signin, Signup pop ups.
Publication cover: This setting is not used in Papyrus theme. So you can skip uploading any publication cover.
Theme developers can provide additional design settings and group them under the rest of three categories which are Site-wide, Homepage, and Post - all visible under the Theme tab.
Site-wide Settings
These design settings are provided by the theme developers. These settings are intended for configuration which is applicable across the website.
In Papyrus theme, we have the following Site-wide settings.
- Background image: A texture image to be used as a background. Ensure you use a very small image size, so it does not hamper the performance. In the Papyrus demo, we use the following image, which is around 36 kb.
- Background color: This is the color that will be used as the background of all your pages, posts, and archive pages.
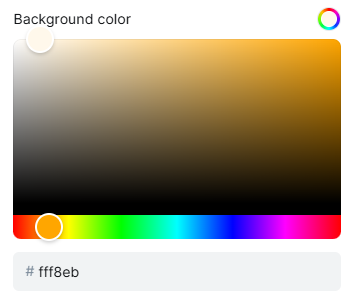
In the theme demo, we are using #fff8eb as the background color.
If not done properly, you will run into accessibility issues.
To check the color contrast, you can use this tool: https://webaim.org/resources/contrastchecker/
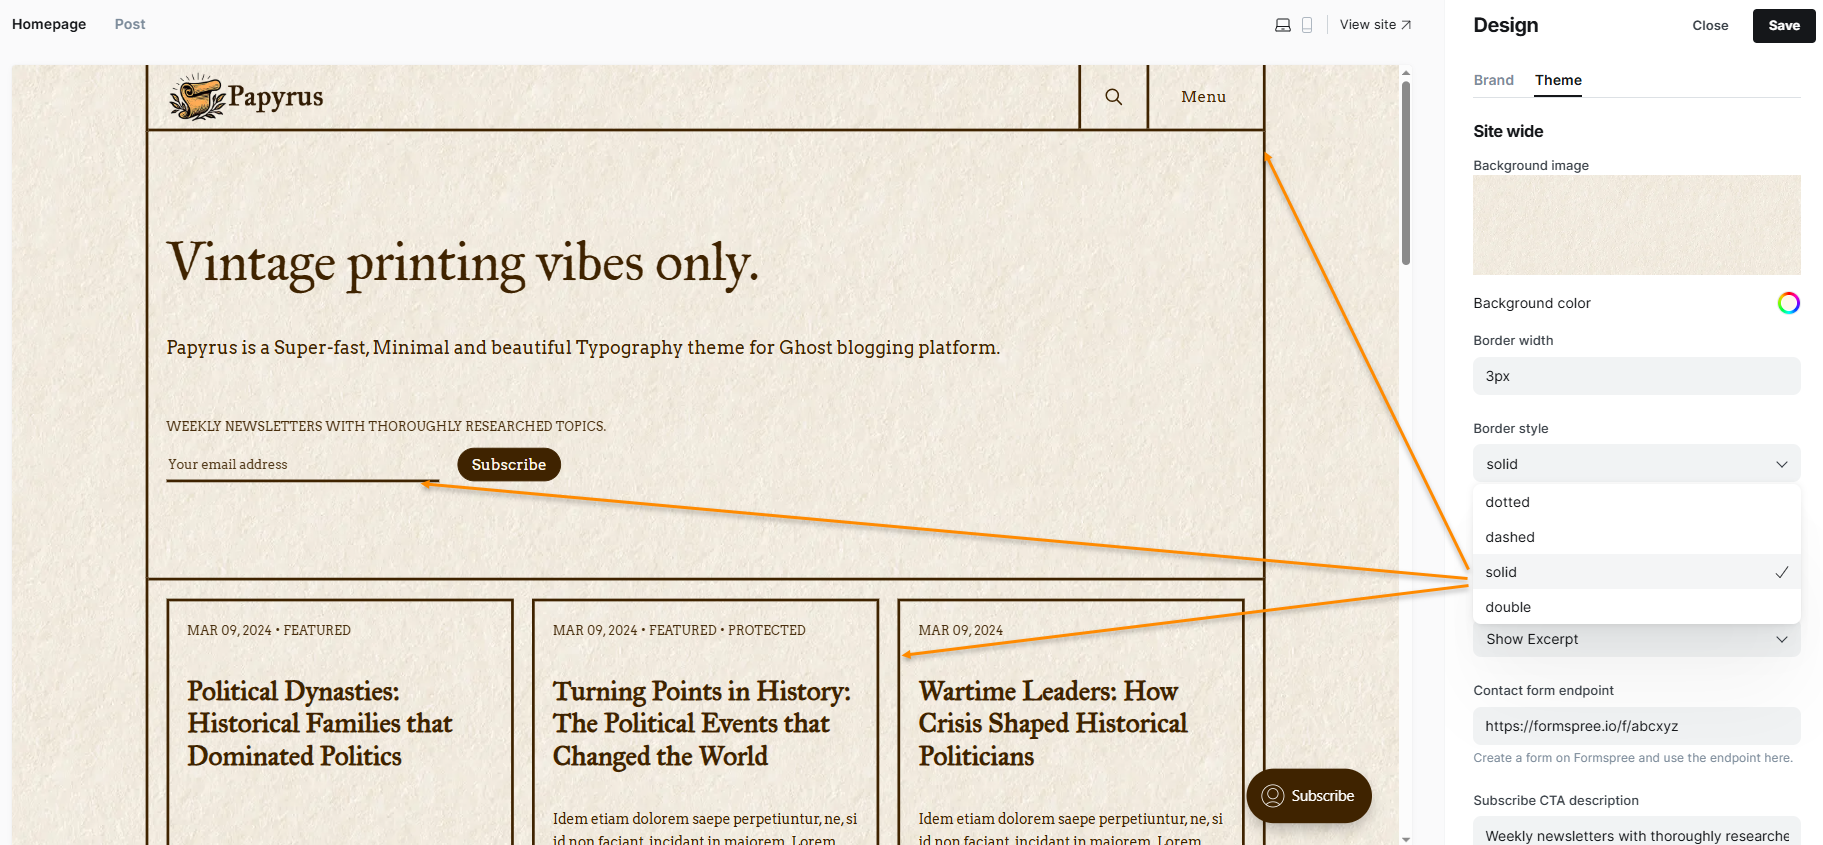
- Border width: Width of the border used across the website. Enter values with
px. In the demo, we use a3pxborder width.
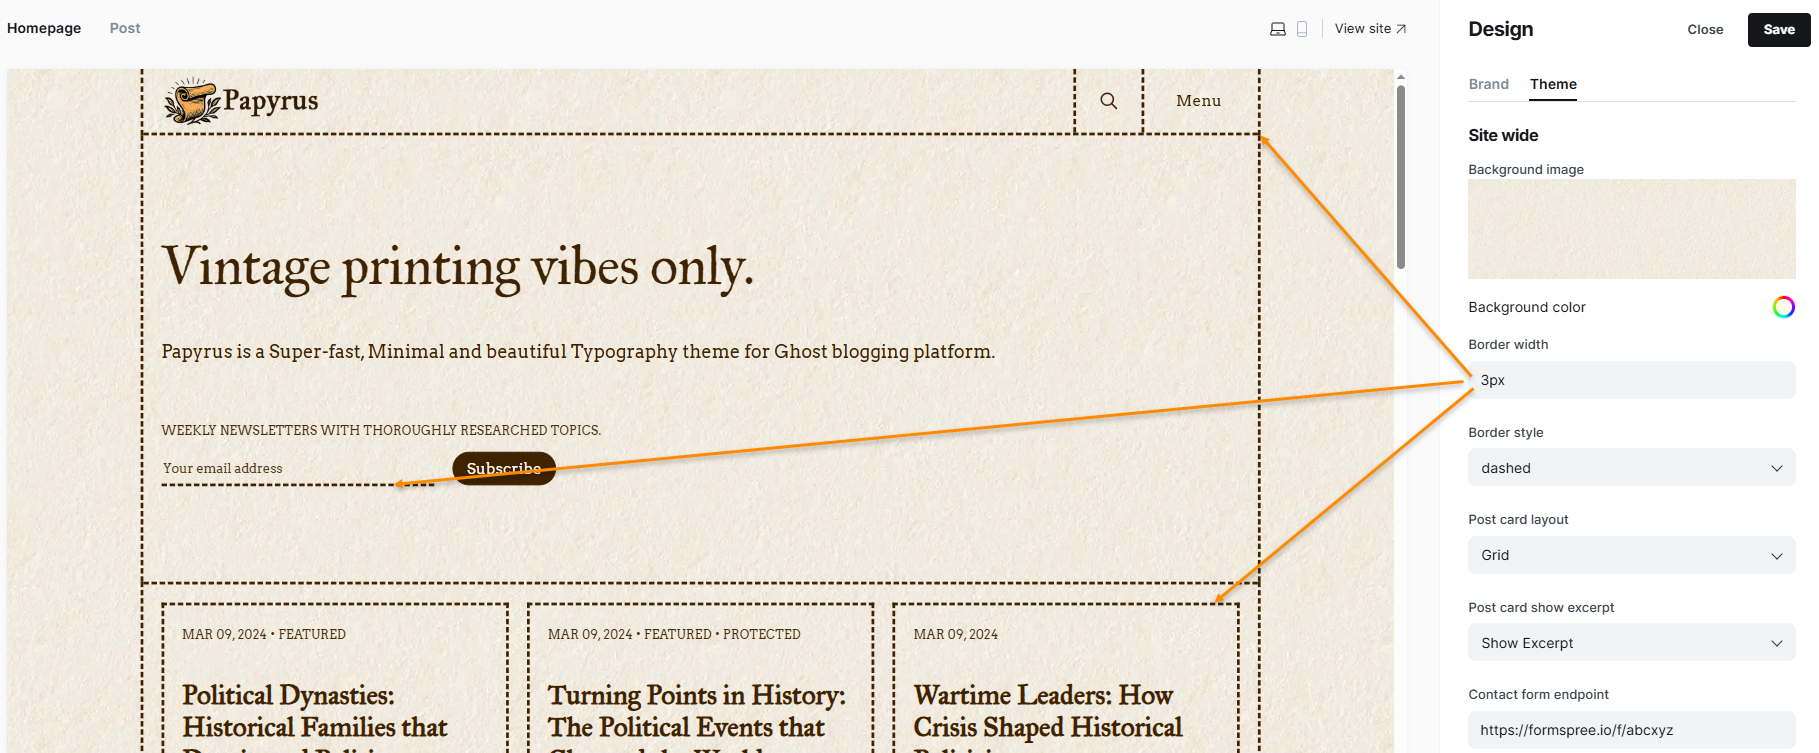
- Border style: Style of the border - solid, dashed, dotted, double.
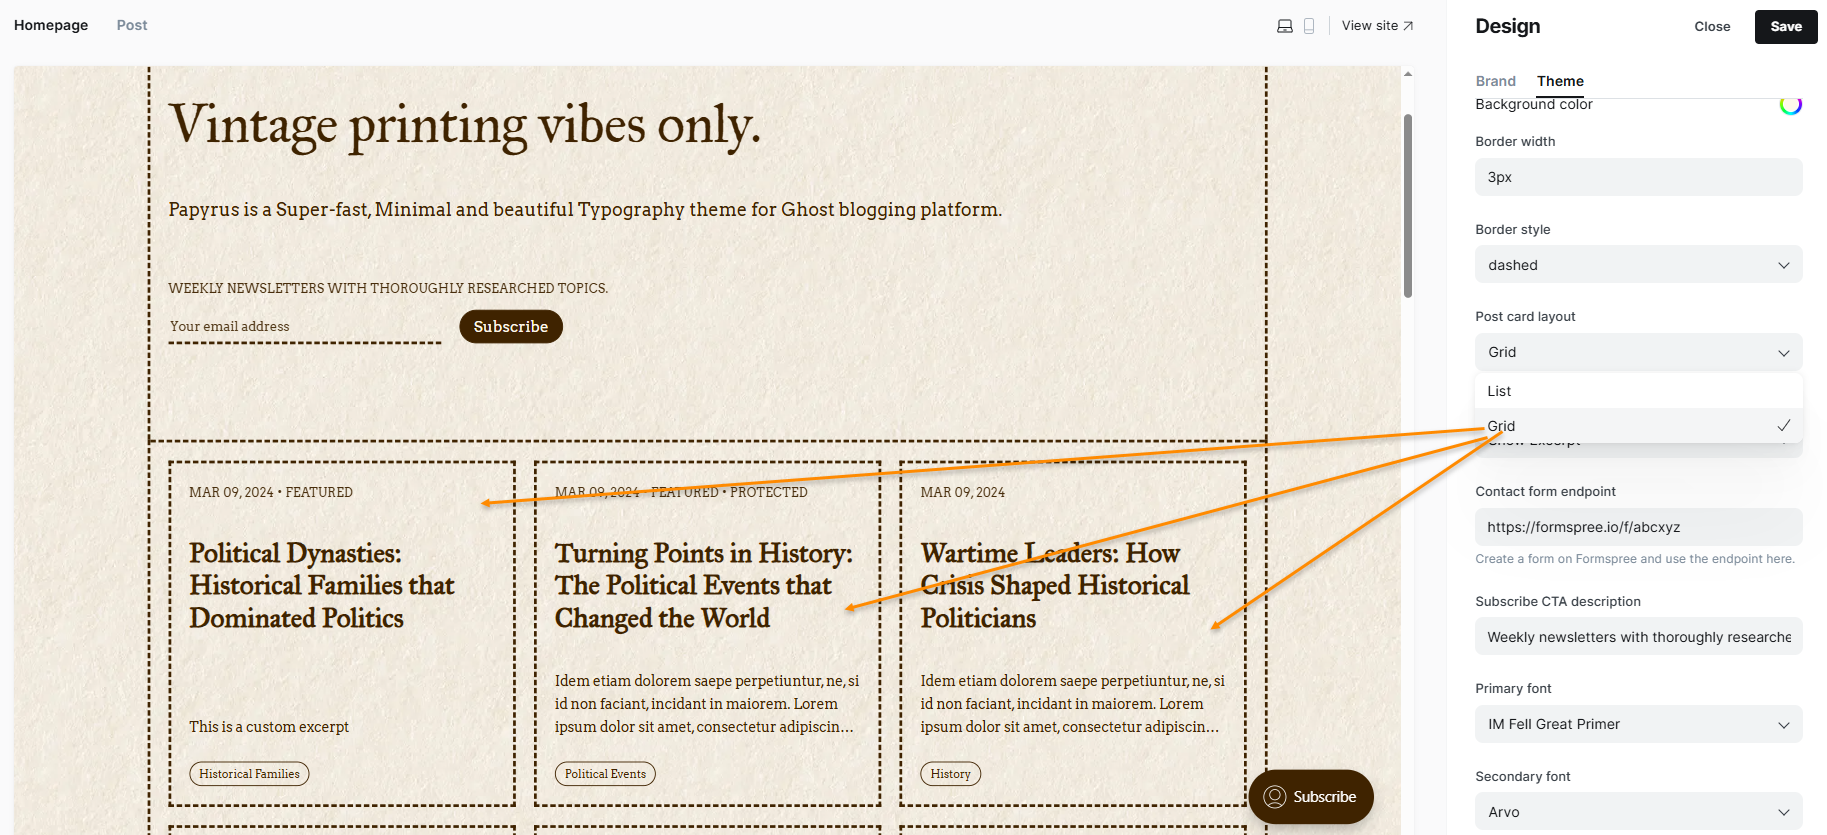
- Post card layout: This theme supports two variations of card layouts -
a. Grid (default), and
b. List
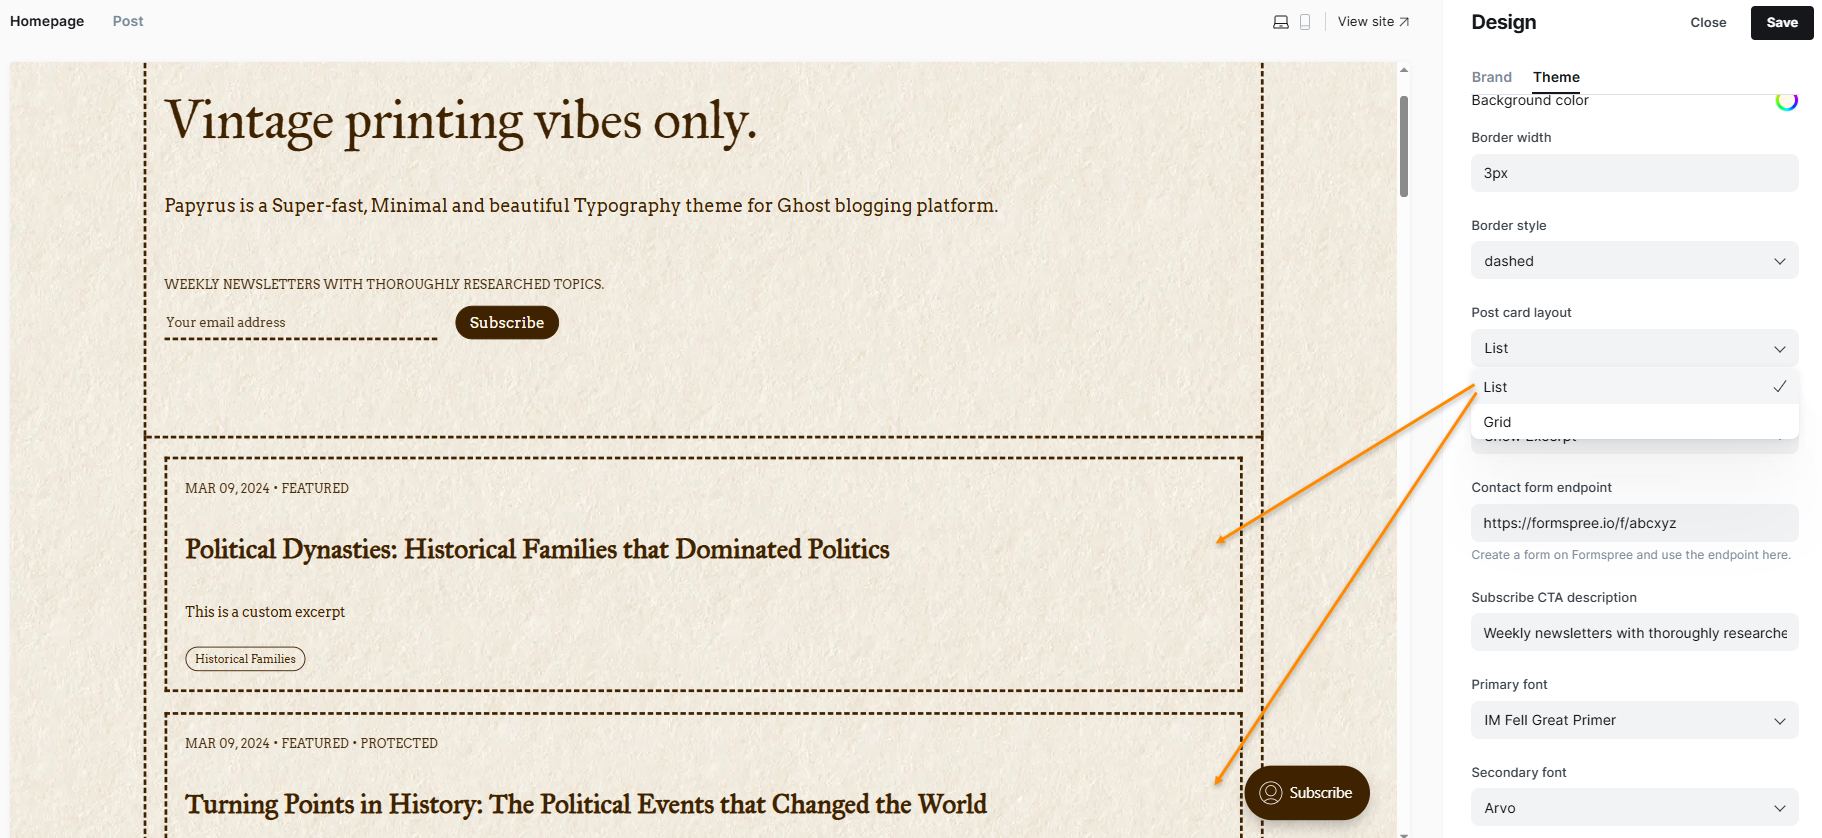
This setting will affect all post cards, author cards and tag cards.- Grid: Post cards, Author cards and Tag cards will be displayed in Grid layout with 3 cards showing in one row. For smaller screens, they will reduce to two or one card per row.
- List: Post cards, Author cards and Tag cards will be displayed in a wide list layout. One card will span across one row.
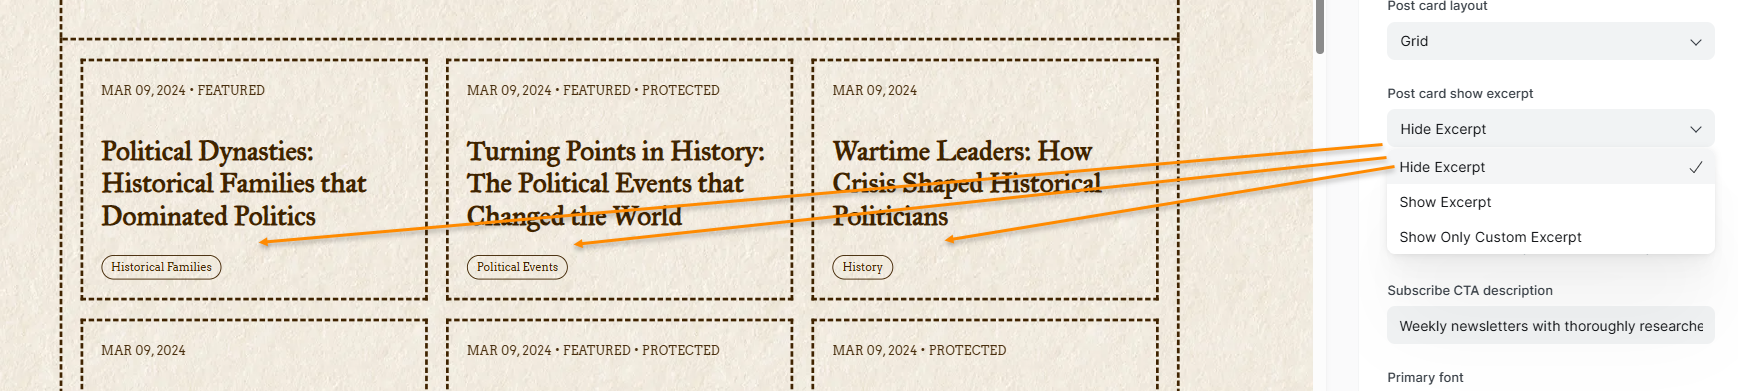
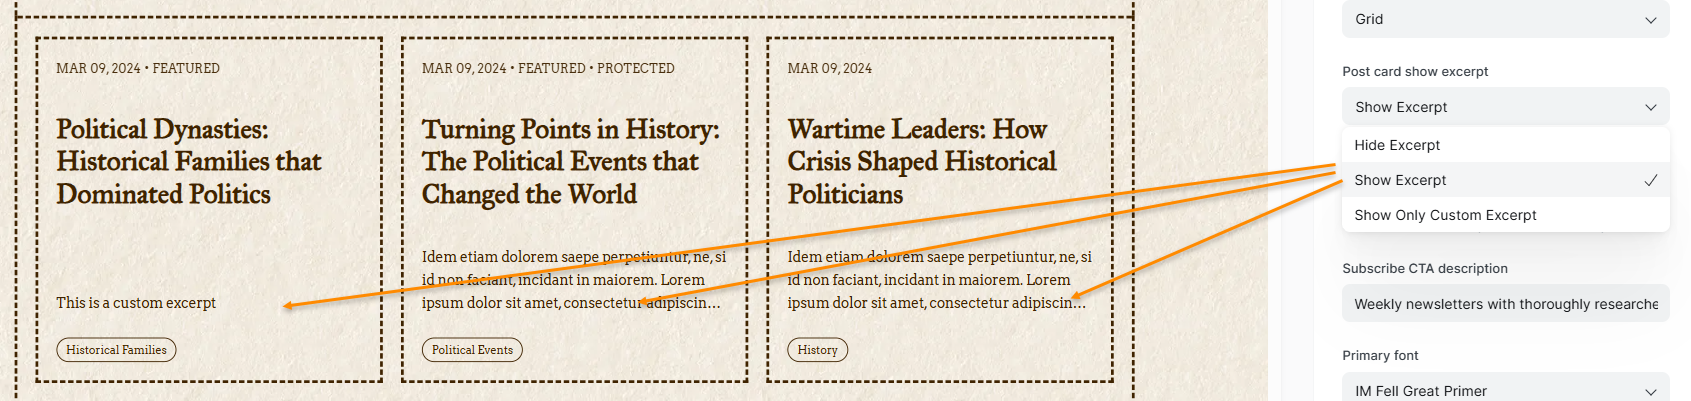
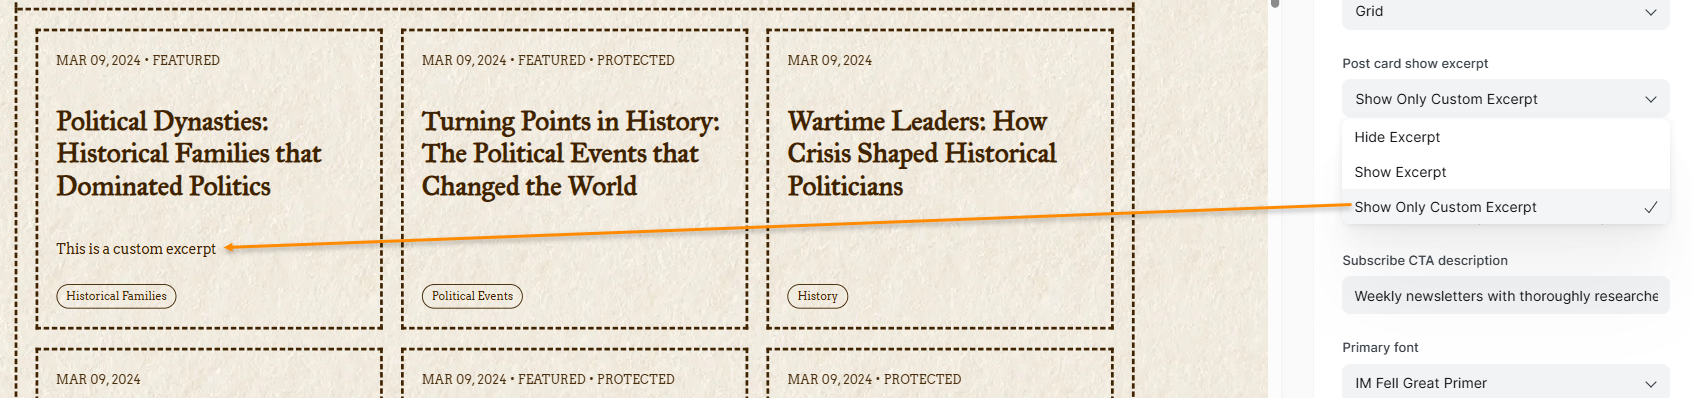
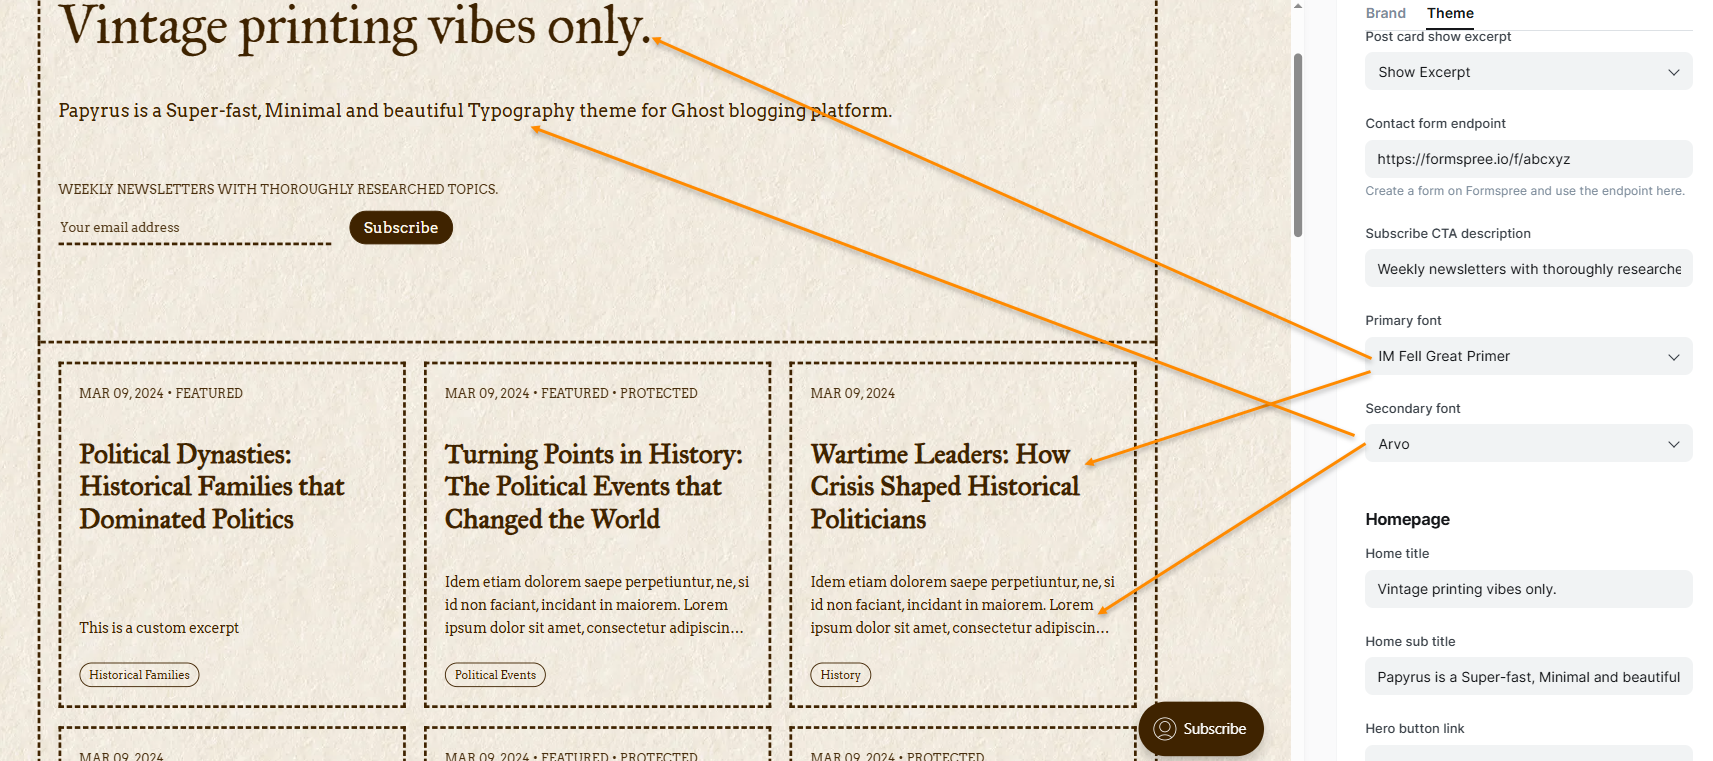
- Post card show excerpt: This will hide/show excerpt in post cards.
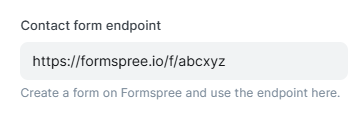
- Contact form endpoint: Add your Formspree (you can use any other similar tool) endpoint for the contact page.
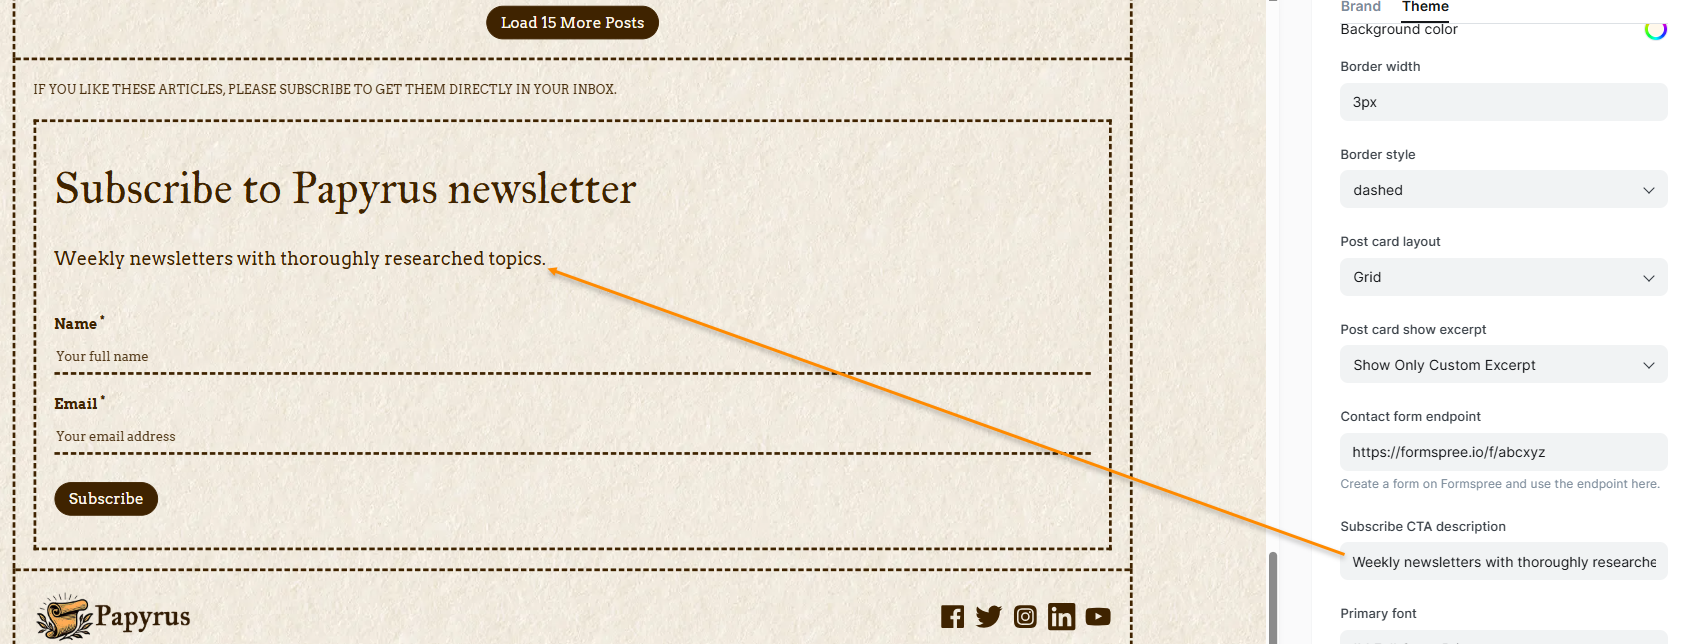
- Subscribe CTA description: This text value will appear on all subscribe CTA forms.
- Primary & Secondary Fonts: Select a font from around 50 fonts for your titles and body. You can also select a font from the default typography options provided by Ghost under Brand settings.
Primary font used on headings, blockquotes, and titles. Secondary font is used across the body of the page except for heading, titles, and blockquote.
Homepage Settings
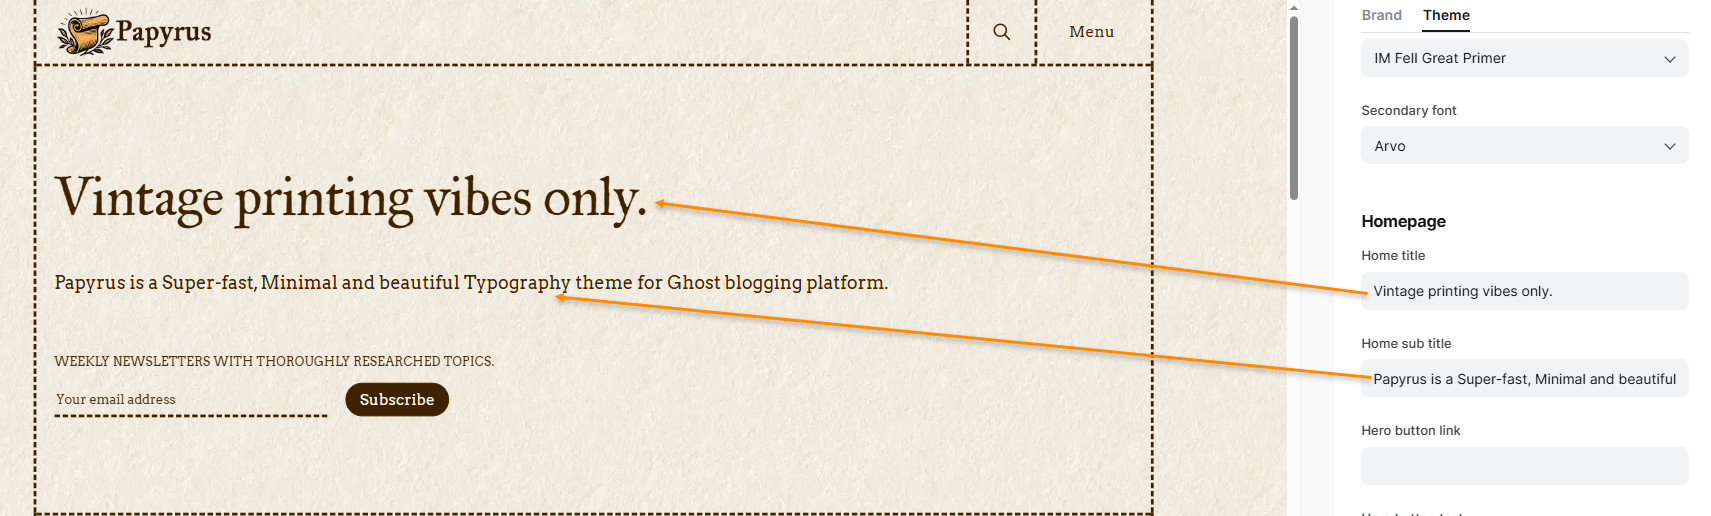
- Home title & Home sub title: These will be visible in the hero section of the homepage. If left blank, then site title and description will be used.
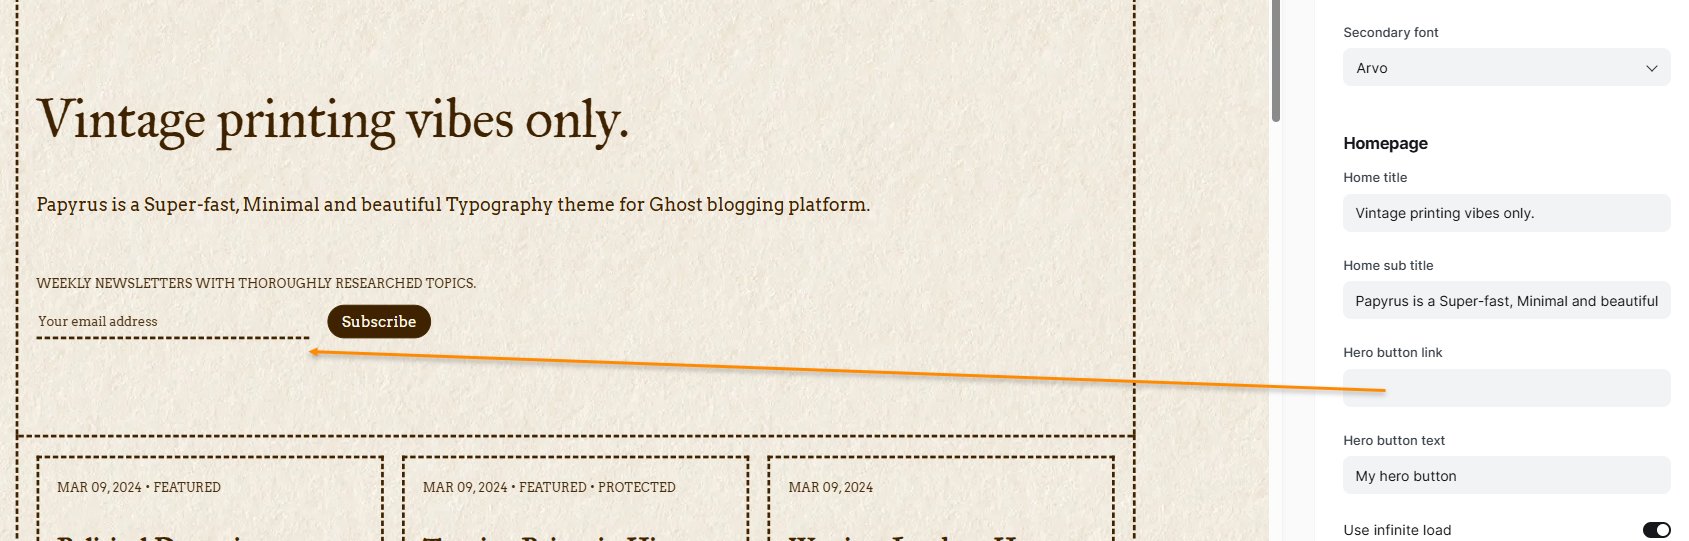
- Hero button and Hero button text: To show a custom button instead of the default subscribe box. If 'Hero button link' is left blank, then the subscribe box will be visible.

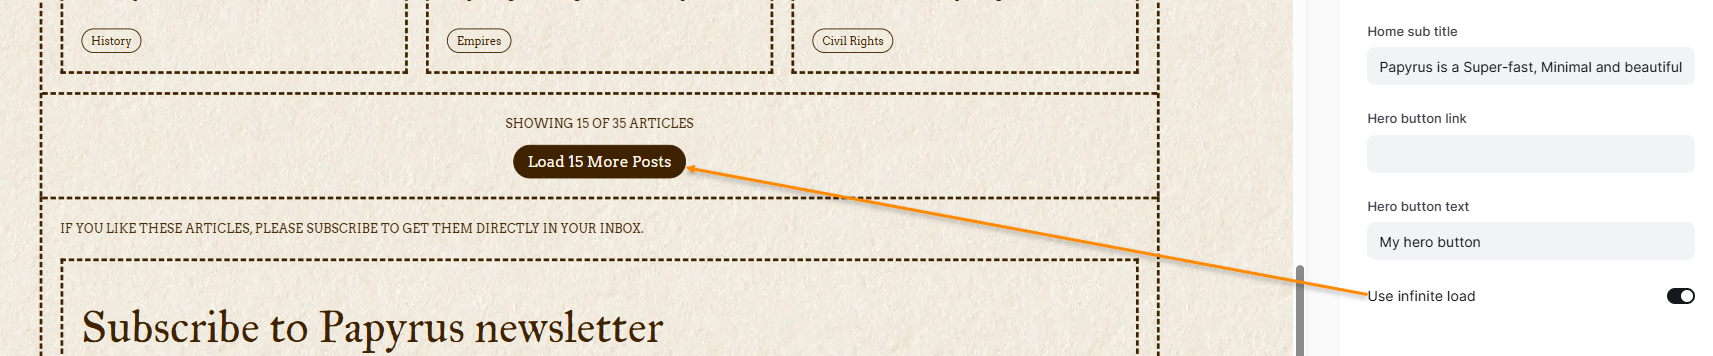
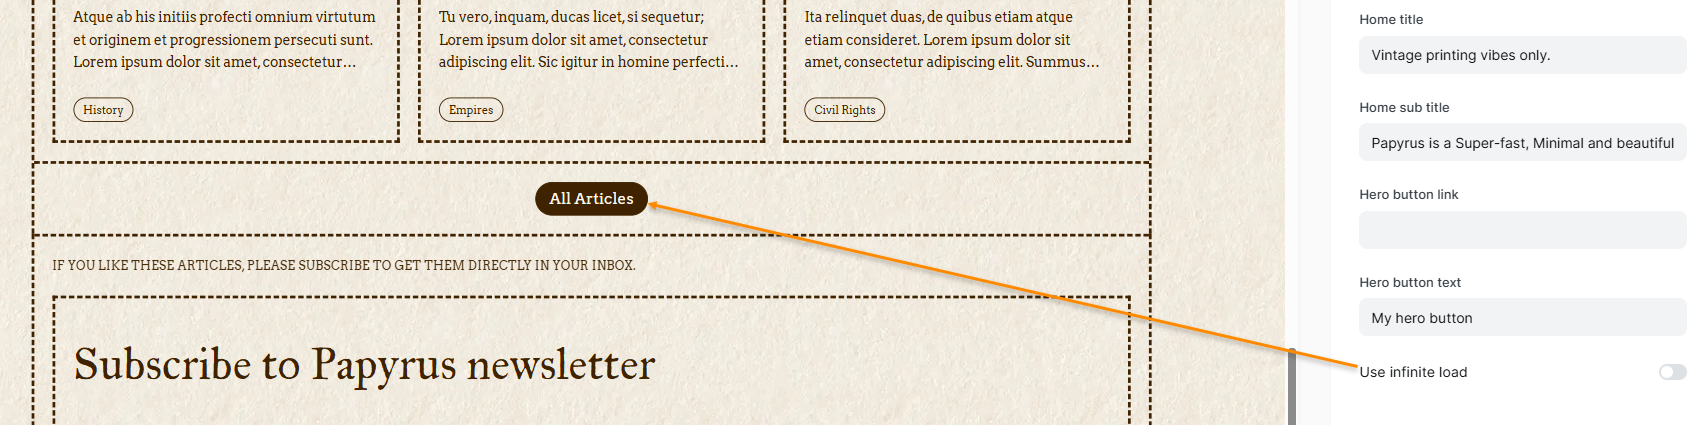
- Use infinite load: If enabled, it will show 'Load X More Posts' (X is the number of posts per page in package.json) button. If disabled, it will show 'All Articles' button which will redirect you to the custom 'Articles' page.
routes.yaml file which is explained in the steps explained in next sections.Post Settings
These settings will affect the layout of your posts
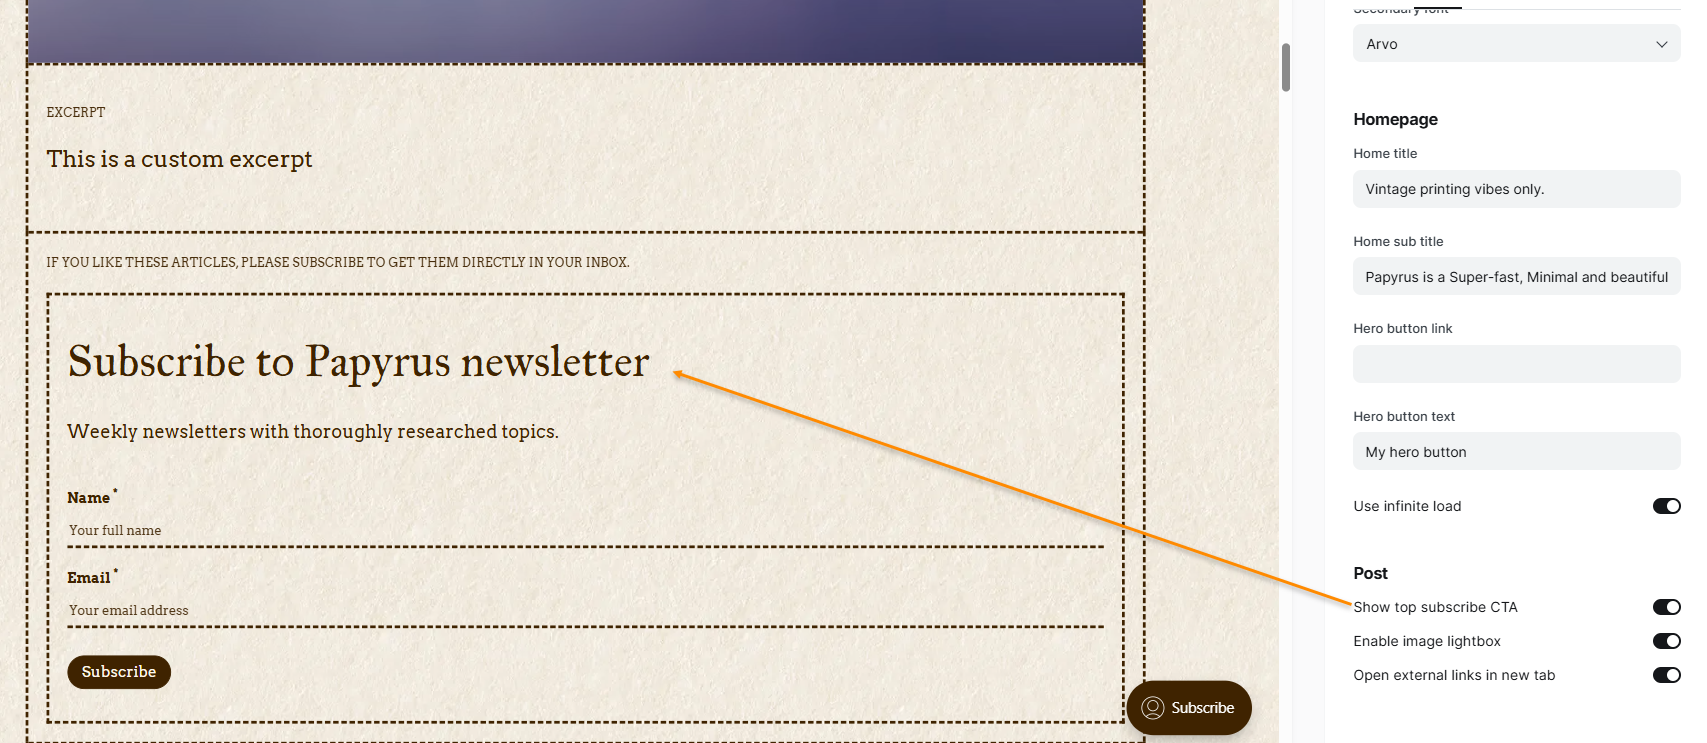
- Show top subscribe CTA: A post has two CTAs, one at the top and one at the bottom. This setting will control the top CTA. If you want to hide the top CTA (below excerpt), you can disable this setting.
- Enable image lightbox: If enabled, will use the Lightbox library to display the images in your post. Useful if you want visitors to see a larger version of your images.
- Open external links in new tab: If enabled, then all external links in the post will be opened in a new tab.
Social Links
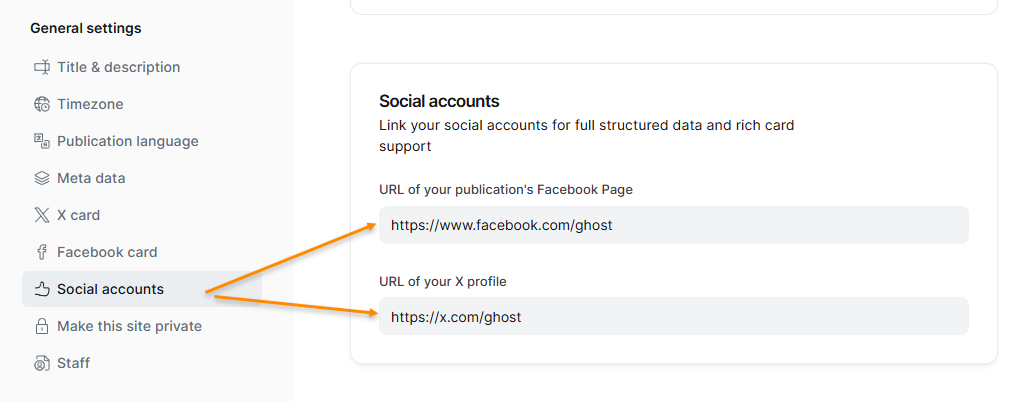
The Facebook and Twitter handles can be updated from the Ghost settings.Settings --> General --> Social accounts
To update other accounts, you need to edit the theme code.
- Open the theme code in your favorite editor (like Visual Studio Code, Sublime Text)
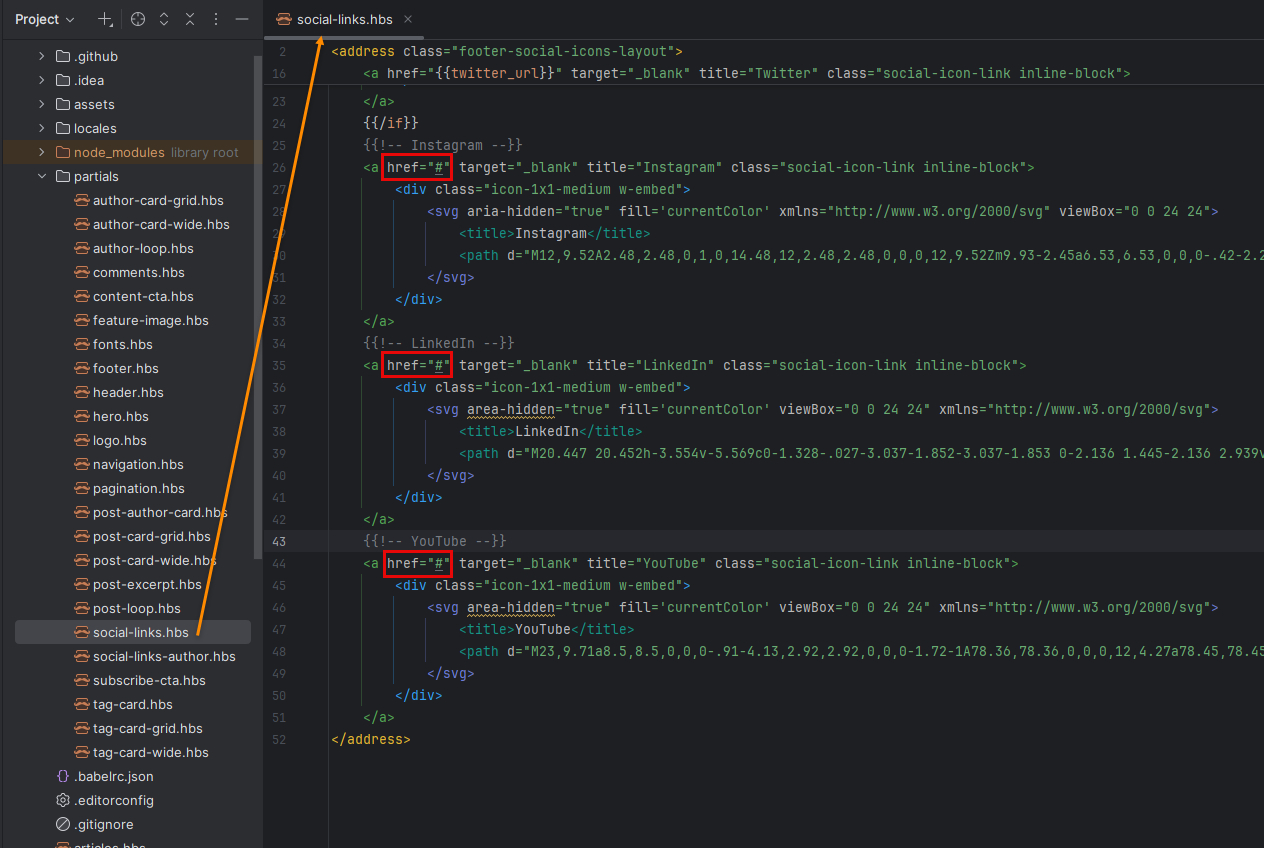
- Open the
social-links.hbspartial file - Look for the social media handle you want to edit. E.g. Instagram, as shown below
- Edit the
href="#"attribute for the tag. Replace#and insert your Instagram URL (e.g.https://www.instagram.com/cristiano/).
Add a new social media handle in the footer
This theme has already provided icons for social media:
- YouTube
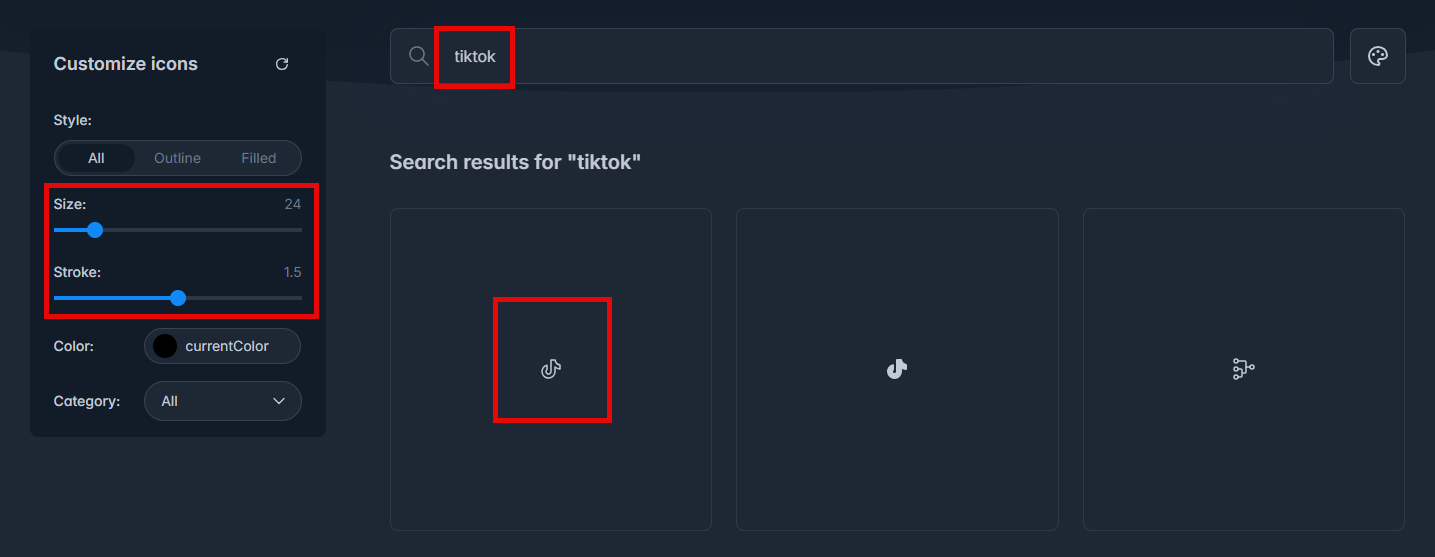
If you want to add any other social media link in footer, then you need to get the SVG code for that icon (preferably in 24x24 size). I got it from Tabler Icons.
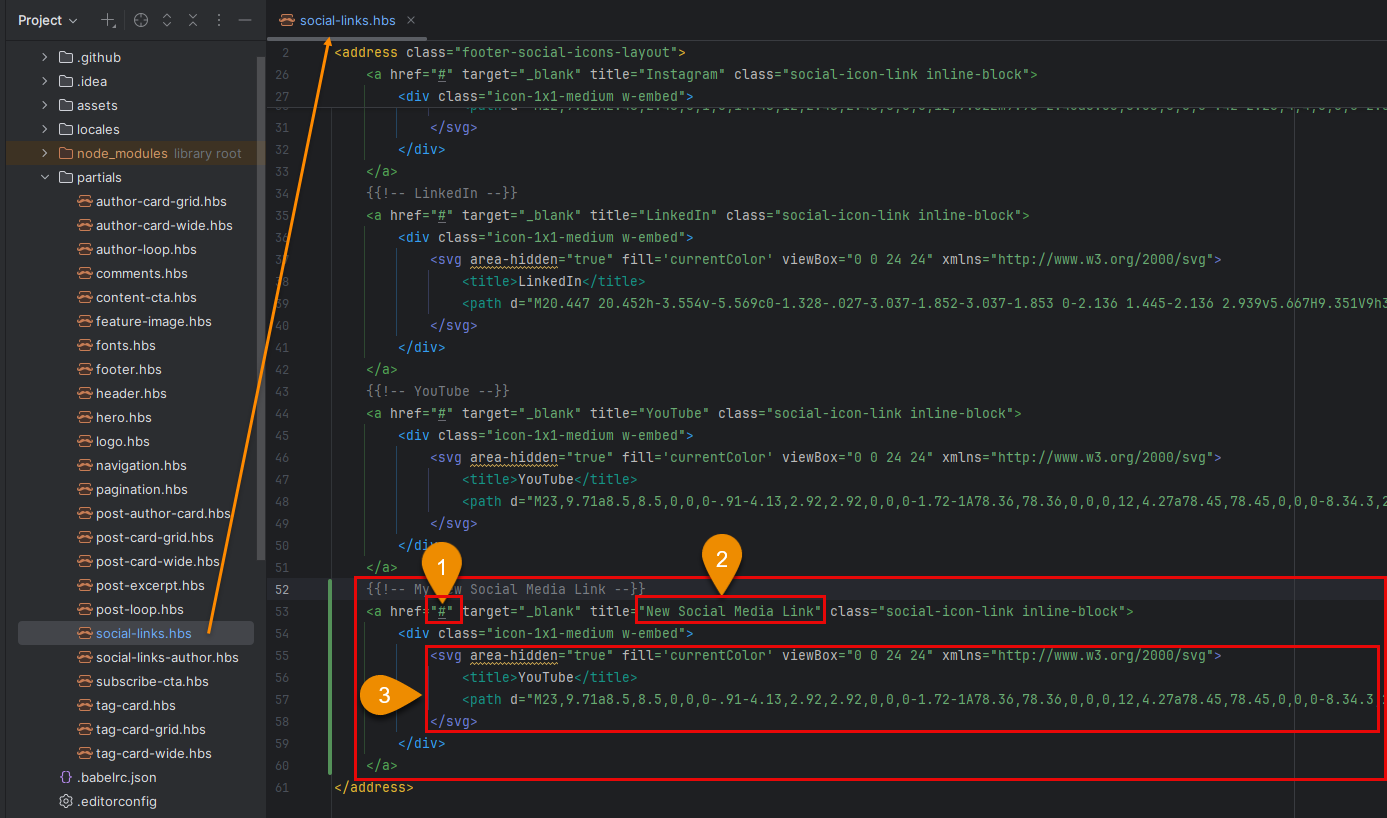
Then you need to copy/paste the highlighted code and edit the title (#2 in below image) and href attribute (#1 in below image) as explained earlier.
Apart from that, you also need to add the path for the SVG code (#3 in below image).
Custom Pages
This theme has three custom pages:
- Articles
- Authors
- Tags
- Contact
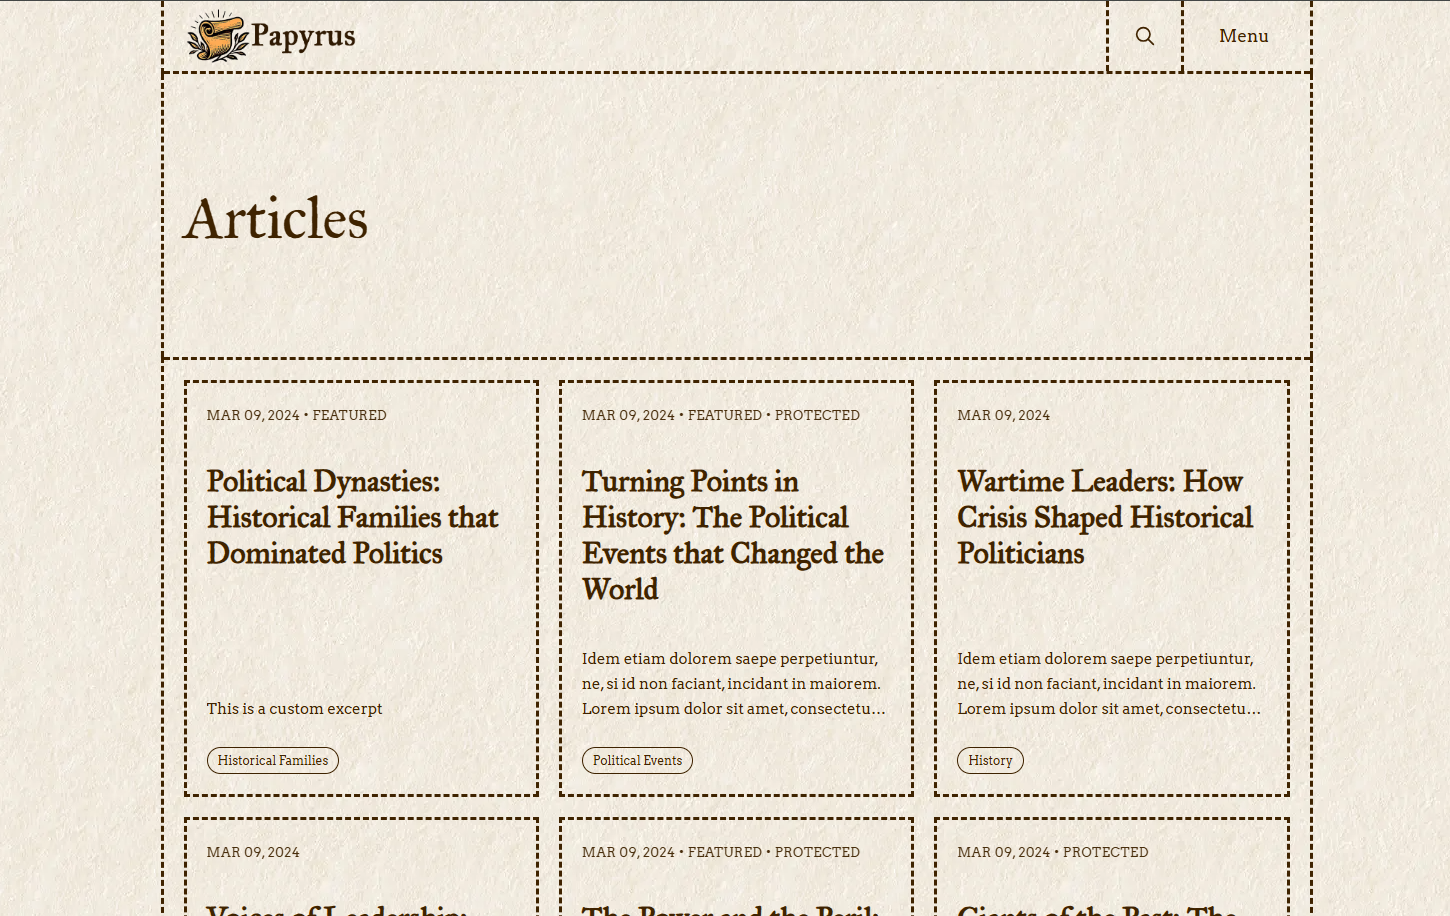
routes.yaml file for these pages to work correctly.Articles Page
To create the articles page, go to Pages --> New page
- Give the page title as Articles (you can give any page title)
- Ensure the slug for that page is 'articles'
- Click on Publish to create the page.

The new page will be available at www.example.com/articles. It will have the page title as what you provided in step#1 above.
Authors, Tags & Contact Pages
The Authors page will list all authors in decreasing order of the number of published posts.
The Tags page will list all tags in decreasing order of the number of posts tagged with tht tag.
The Contact page will show a contact form for which you need to add the Formspree endpoint in Contact form endpoint field as explained under Site-wide settings.
Follow the steps to create a new page from the previous section where we created the Articles page.
For the Authors page, ensure that the slug you use is authors.
For the Tags page, ensure that the slug you use istags.
For Contact page, ensure that the slug is contact.
Supported Languages
This theme supports 15 languages out of the box with their translation-ready locales files:
- English (en)
- German (de)
- Czech (cs)
- Spanish (es)
- French (fr)
- Hungarian (hu)
- Italian (it)
- Dutch (nl)
- Polish (pl)
- Portuguese (pt)
- Russian (ru)
- Turkish (tr)
- Japanese (ja)
- Chinese (zh)
- Hindi (hi)
Change Publication Language
To change the publication language, go to Settings --> General --> Publication Language
Enter the language code of your preferred language and click Save.

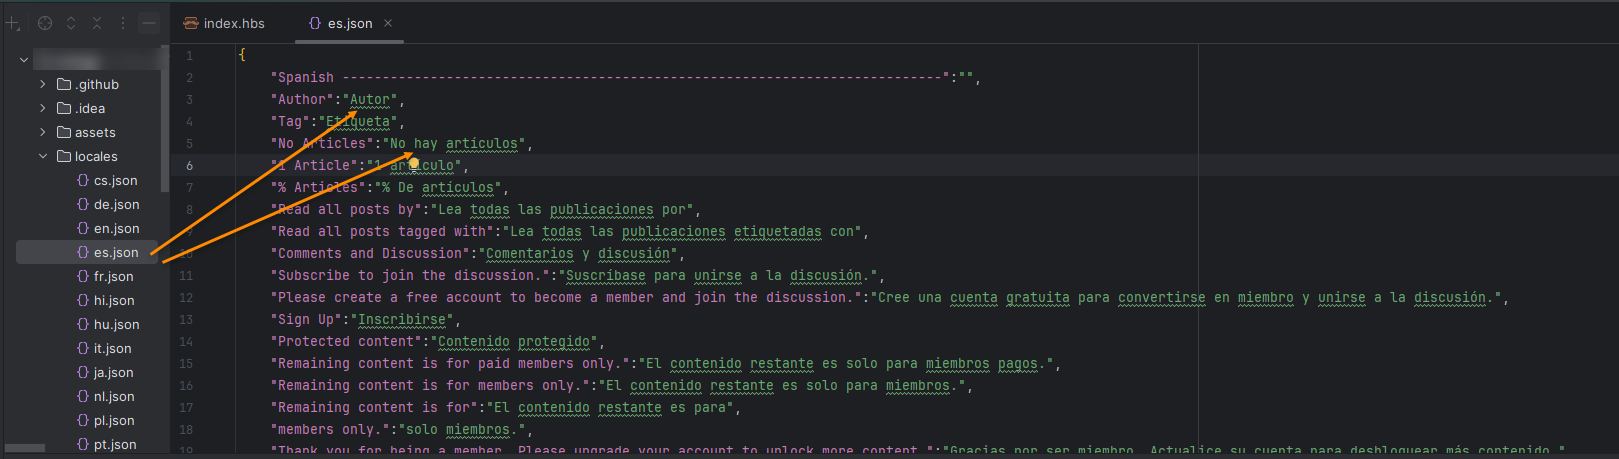
To add a new locale, you need to add a new file in the locales directory. Copy all the content from en.json file and rename it with the proper language code. Then for each string add the translated version. For example, below is a sample from es.json which is for the Spanish language.
Once you add the new file, zip the content and upload it to your Ghost website.
Modifying translations
The default translations provided in the theme may sometimes be incorrect. In that case, if you want to modify it, then open the correct locales file (e.g. es.json for Spanish) and modify the value of the translated string.